# Setting Up Your Home Studio on a Budget
You don't need a million-dollar facility to make records that sound like a million bucks. Some of the biggest hits in recent memory were tracked in bedrooms, closets, and converted garages. The key is knowing where to spend your money and where to save it.
In this guide, we'll walk through three budget tiers, cover the essential gear categories, and talk about acoustic treatment -- the thing most beginners skip that makes the biggest difference.
The Core Signal Chain
Before we talk about specific products, let's understand what you actually need. Every home studio has a signal chain:
Source (voice or instrument) -> Microphone -> Audio Interface -> DAW (software) -> Monitors/Headphones (playback)
That's it. Everything else is a nice-to-have. If you nail these five links, you can make professional-sounding recordings today.
Essential Gear Categories
1. Audio Interface
The interface is your studio's heart. It converts analog signal (your mic) into digital signal (your computer). Here's what matters:
| Feature | Why It Matters | What to Look For |
|---|---|---|
| Preamp quality | Determines how clean your recordings sound | Low self-noise, sufficient gain |
| Latency | Delay between playing and hearing | Look for direct monitoring |
| I/O count | How many things you can record at once | 2 inputs minimum |
| Build quality | Durability over years of use | Metal housing preferred |
| Driver support | Compatibility with your OS | Check manufacturer website |
Budget pick: Focusrite Scarlett 2i2 (~$170). It's the industry standard entry-level interface for a reason -- clean preamps, solid build, works everywhere.
Mid-range pick: Universal Audio Volt 276 (~$300). Adds analog compression to the signal path, which is surprisingly useful for vocals.
Pro pick: Audient iD14 (~$350). Studio-grade converters that punch well above their price.
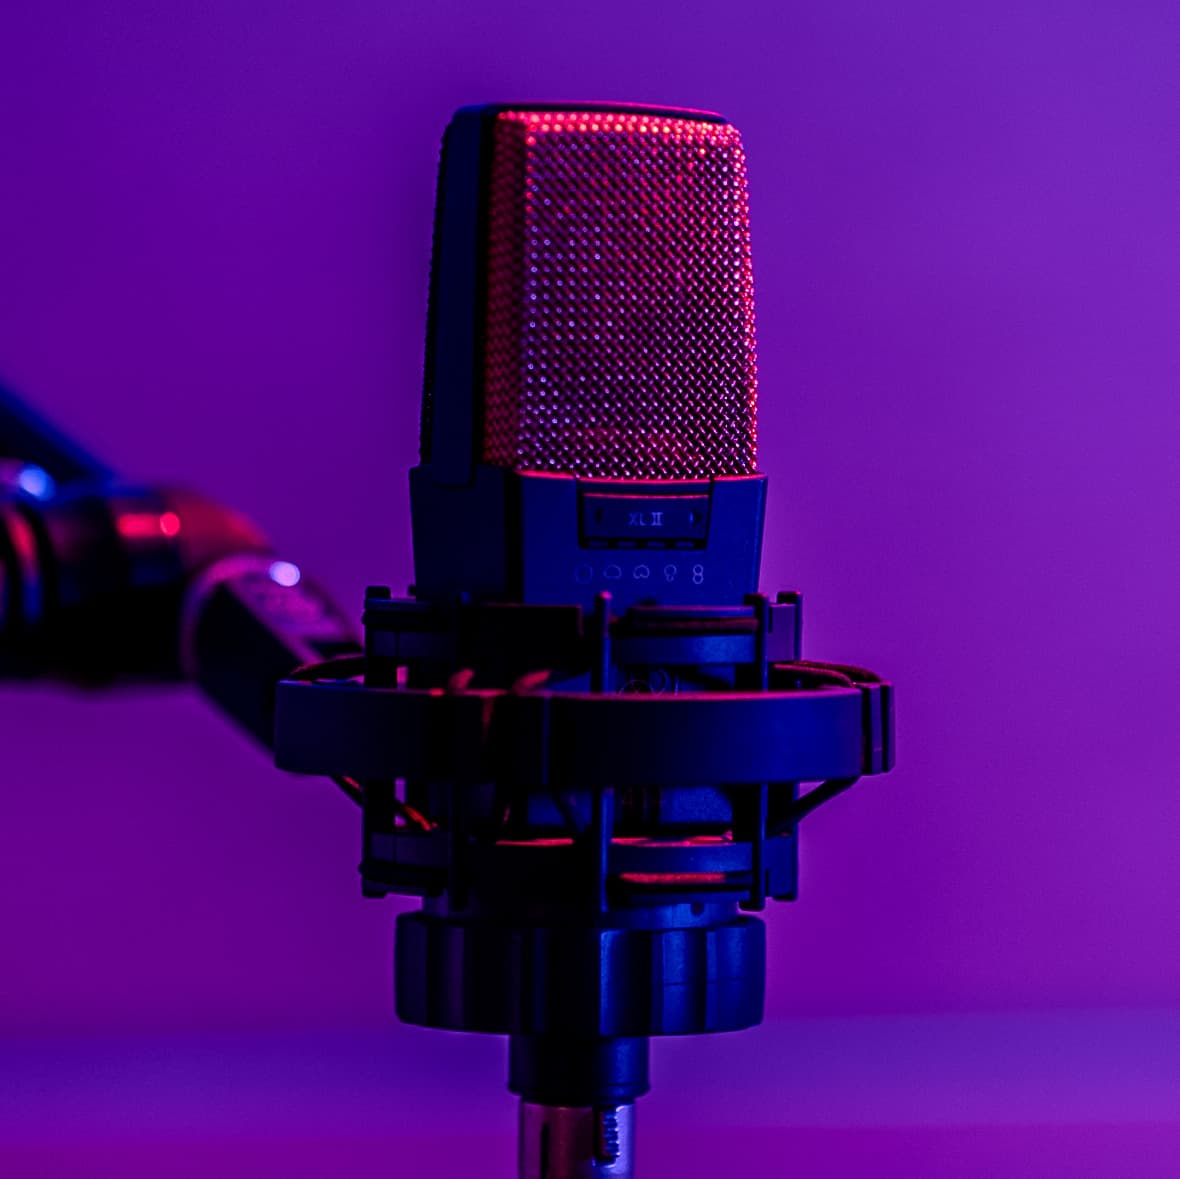
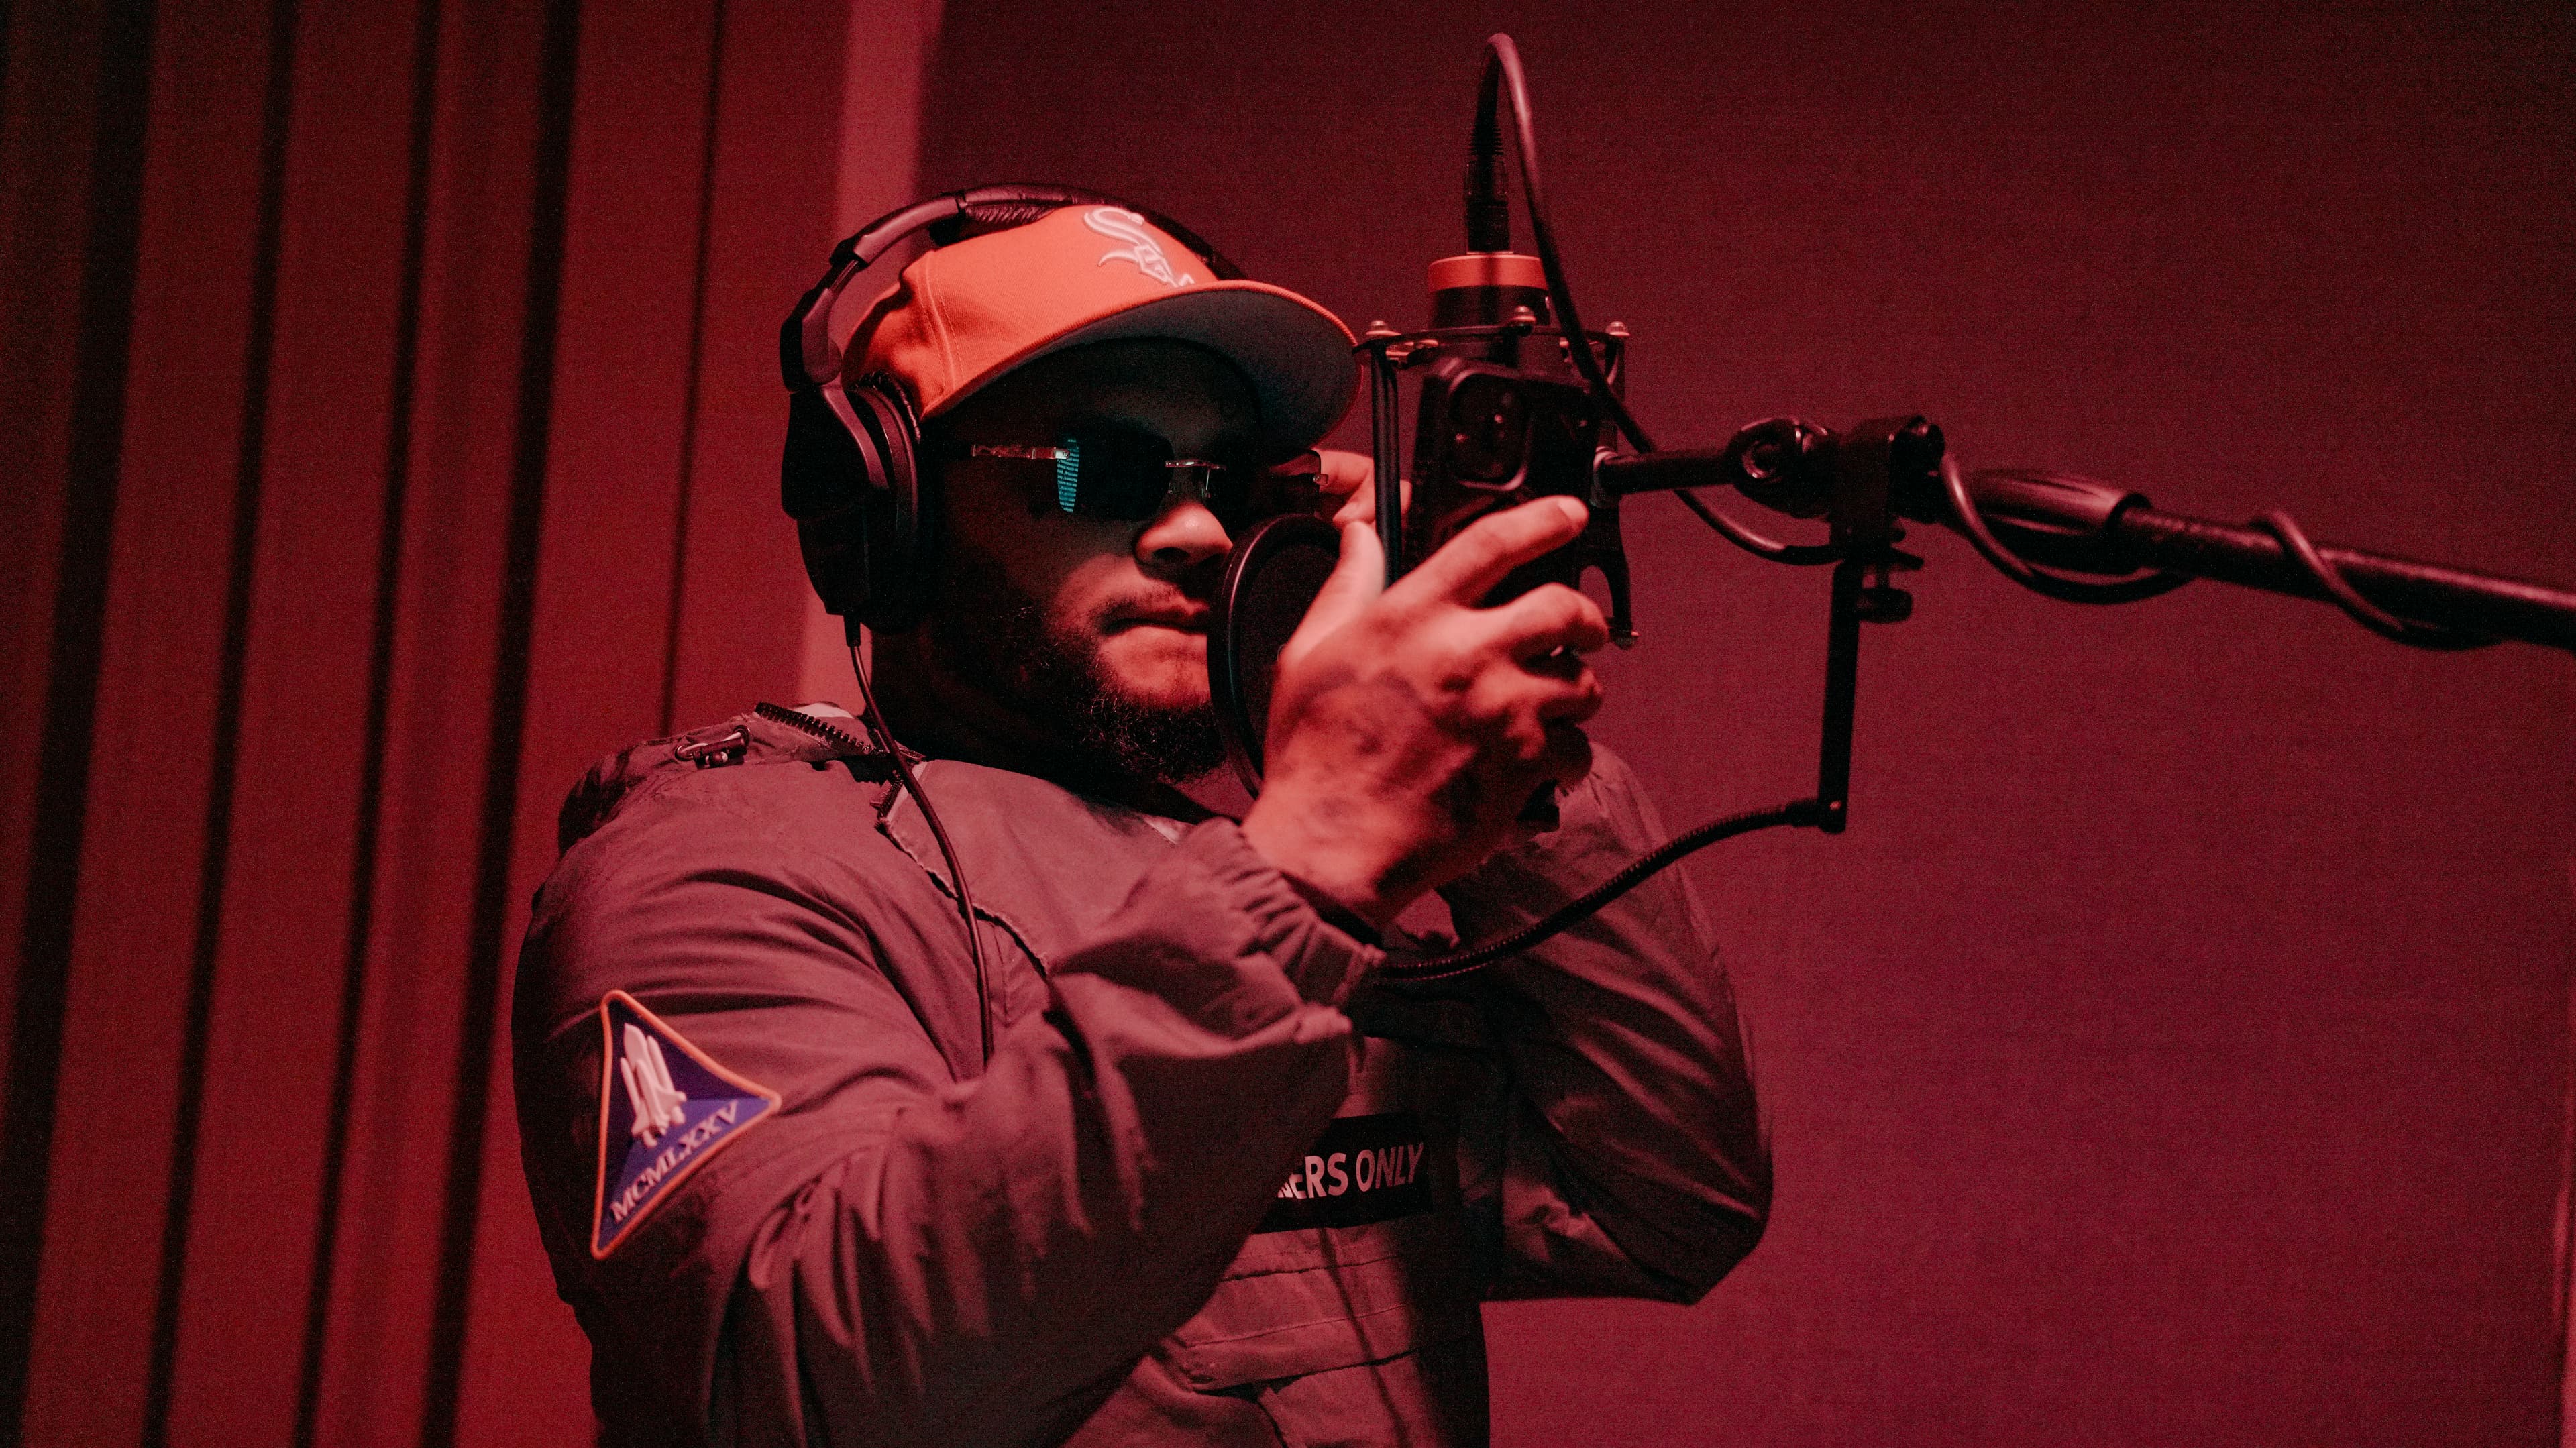
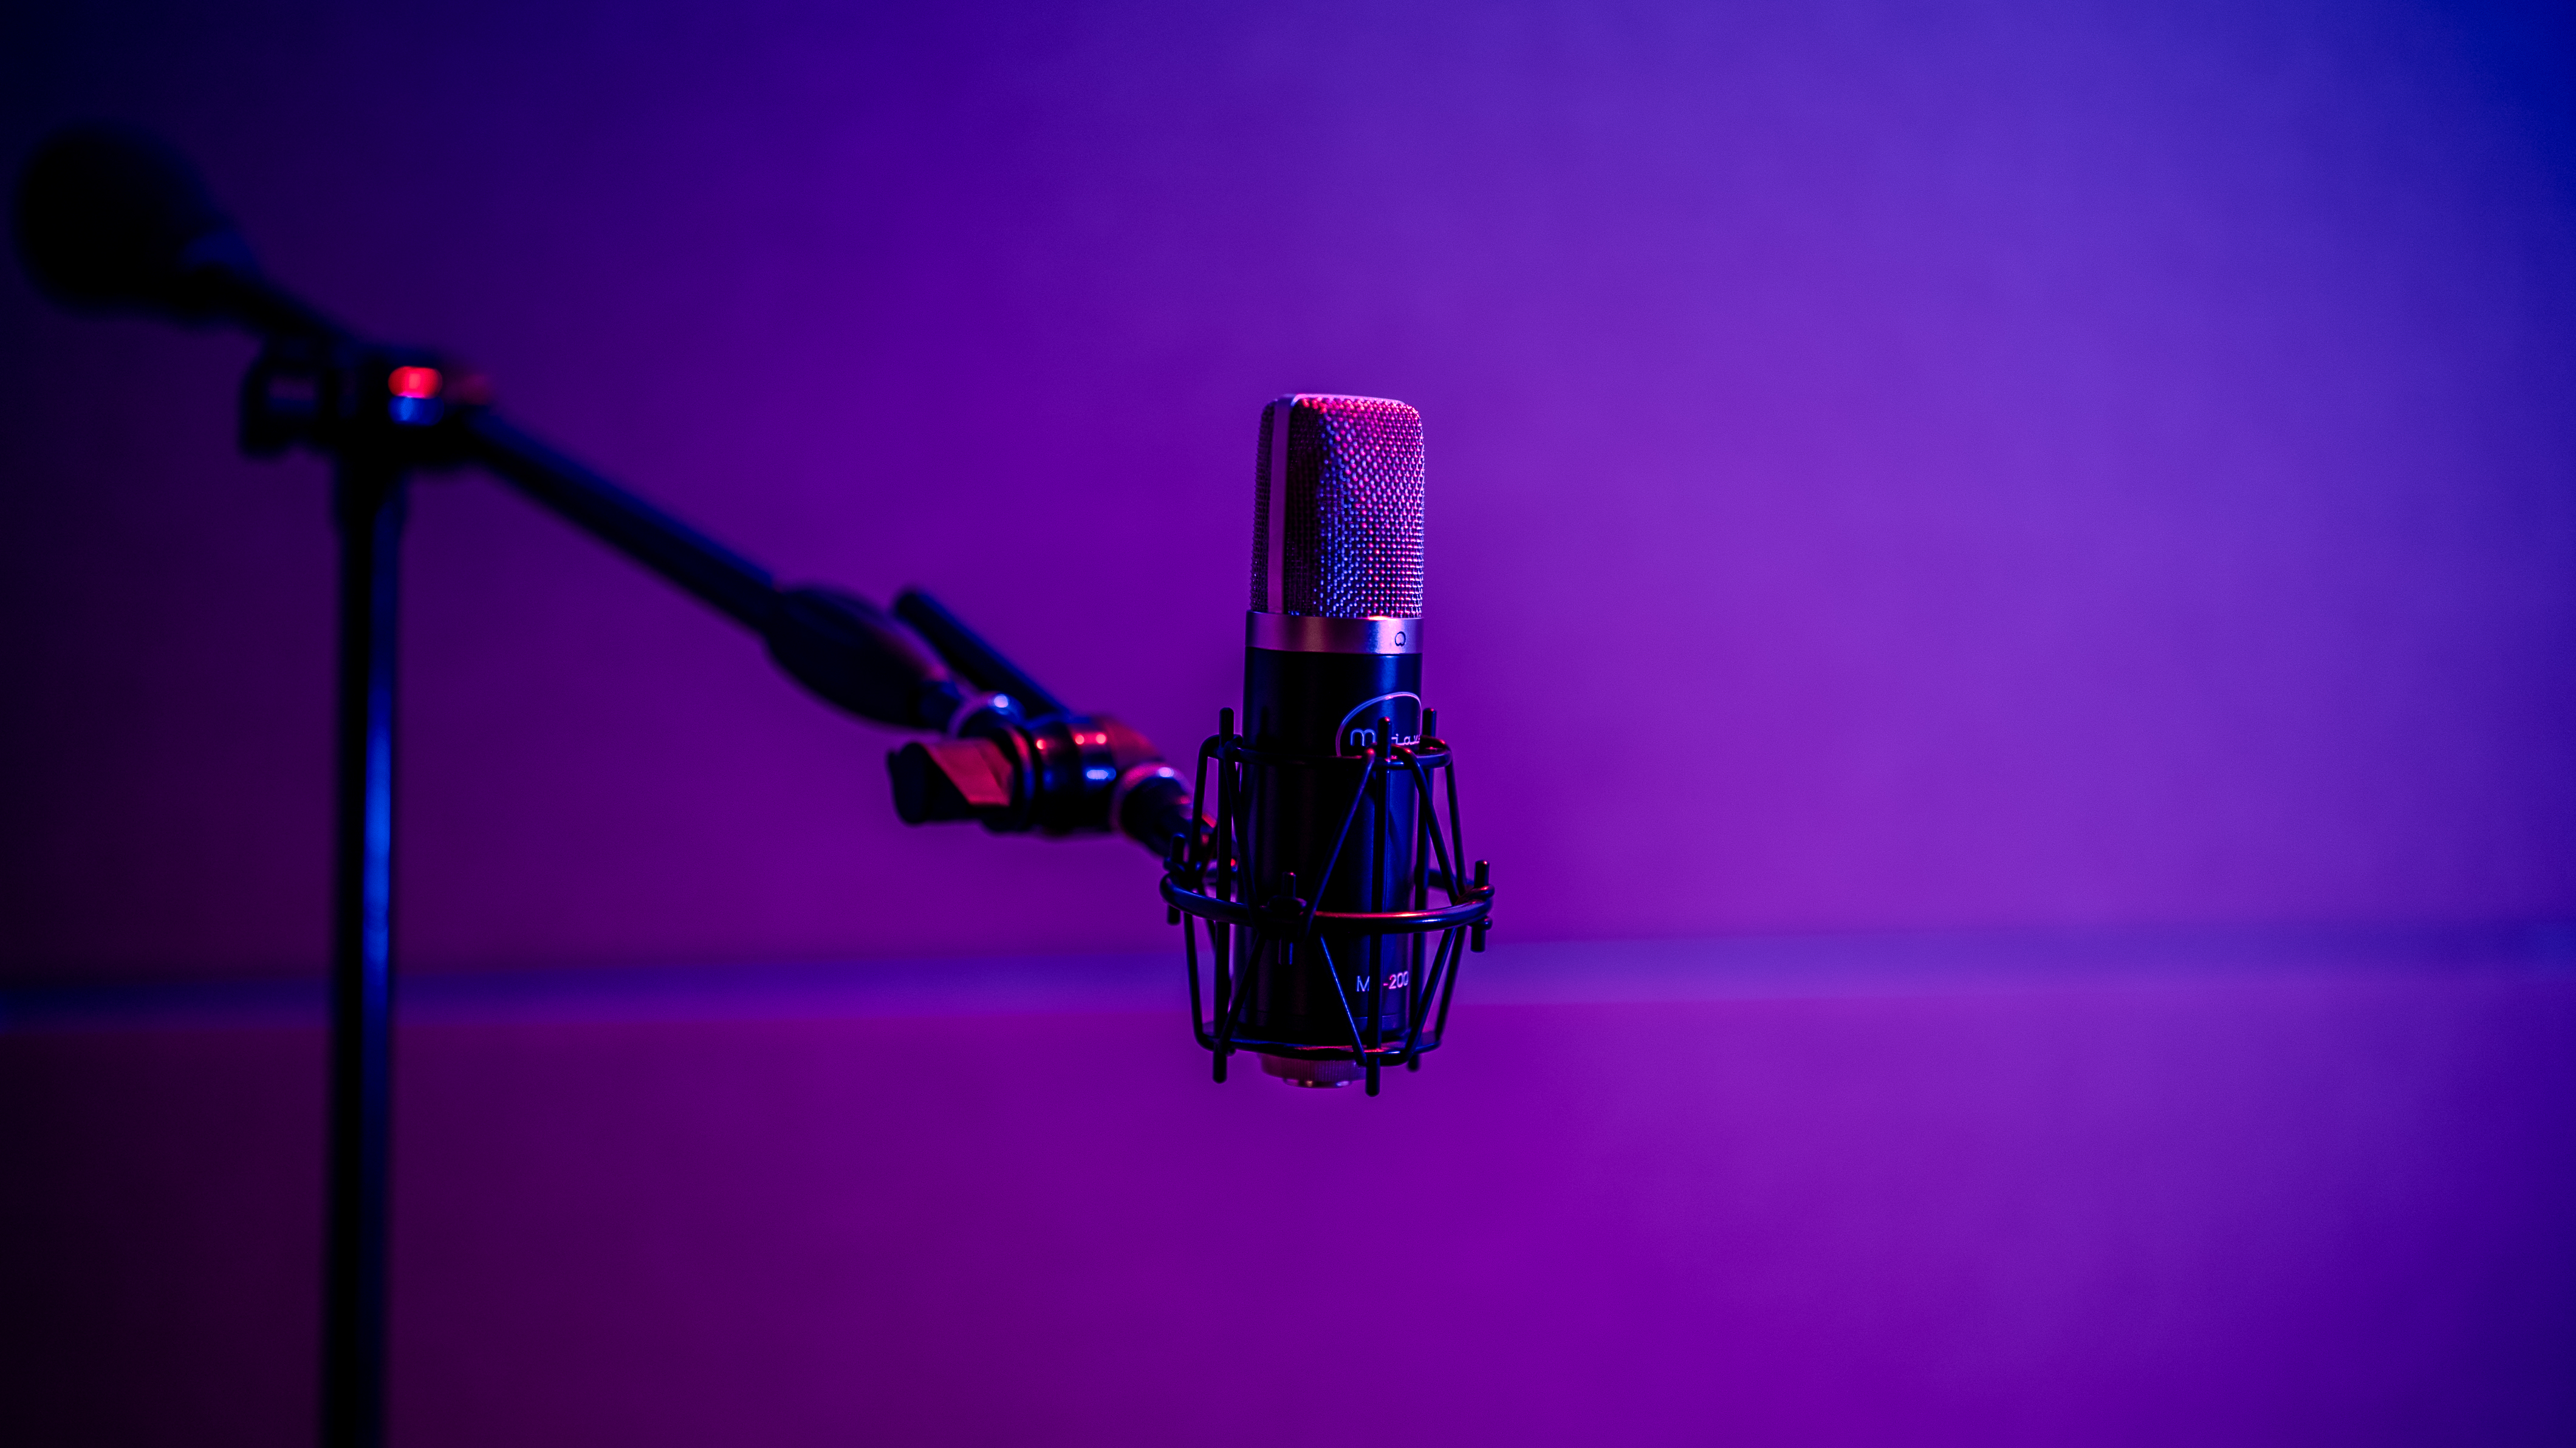
2. Microphone
We'll cover microphones in depth in our next post, but here's the quick version:
- Condenser mics are best for vocals and acoustic instruments in treated rooms
- Dynamic mics are better for untreated rooms, loud sources, and live performance
- For most home studios, start with a large-diaphragm condenser
Budget pick: Audio-Technica AT2020 (~$100). Clean, honest sound.
Mid-range pick: Rode NT1-A (~$230). Incredibly quiet self-noise, great for vocals.
Pro pick: Aston Origin (~$300). Unique character, built like a tank.
3. Headphones
You need two types of headphones (eventually):
- Closed-back for tracking (recording). They isolate sound so the mic doesn't pick up bleed.
- Open-back for mixing. They have a wider, more natural soundstage.
Start with closed-back. You can mix on them if you learn their quirks.
Budget pick: Audio-Technica ATH-M50x (~$150). The studio workhorse.
Mid-range pick: beyerdynamic DT 770 Pro (~$160). Comfortable for long sessions, accurate low end.
Pro pick: Sennheiser HD 600 (~$400, open-back). Reference-grade for mixing.
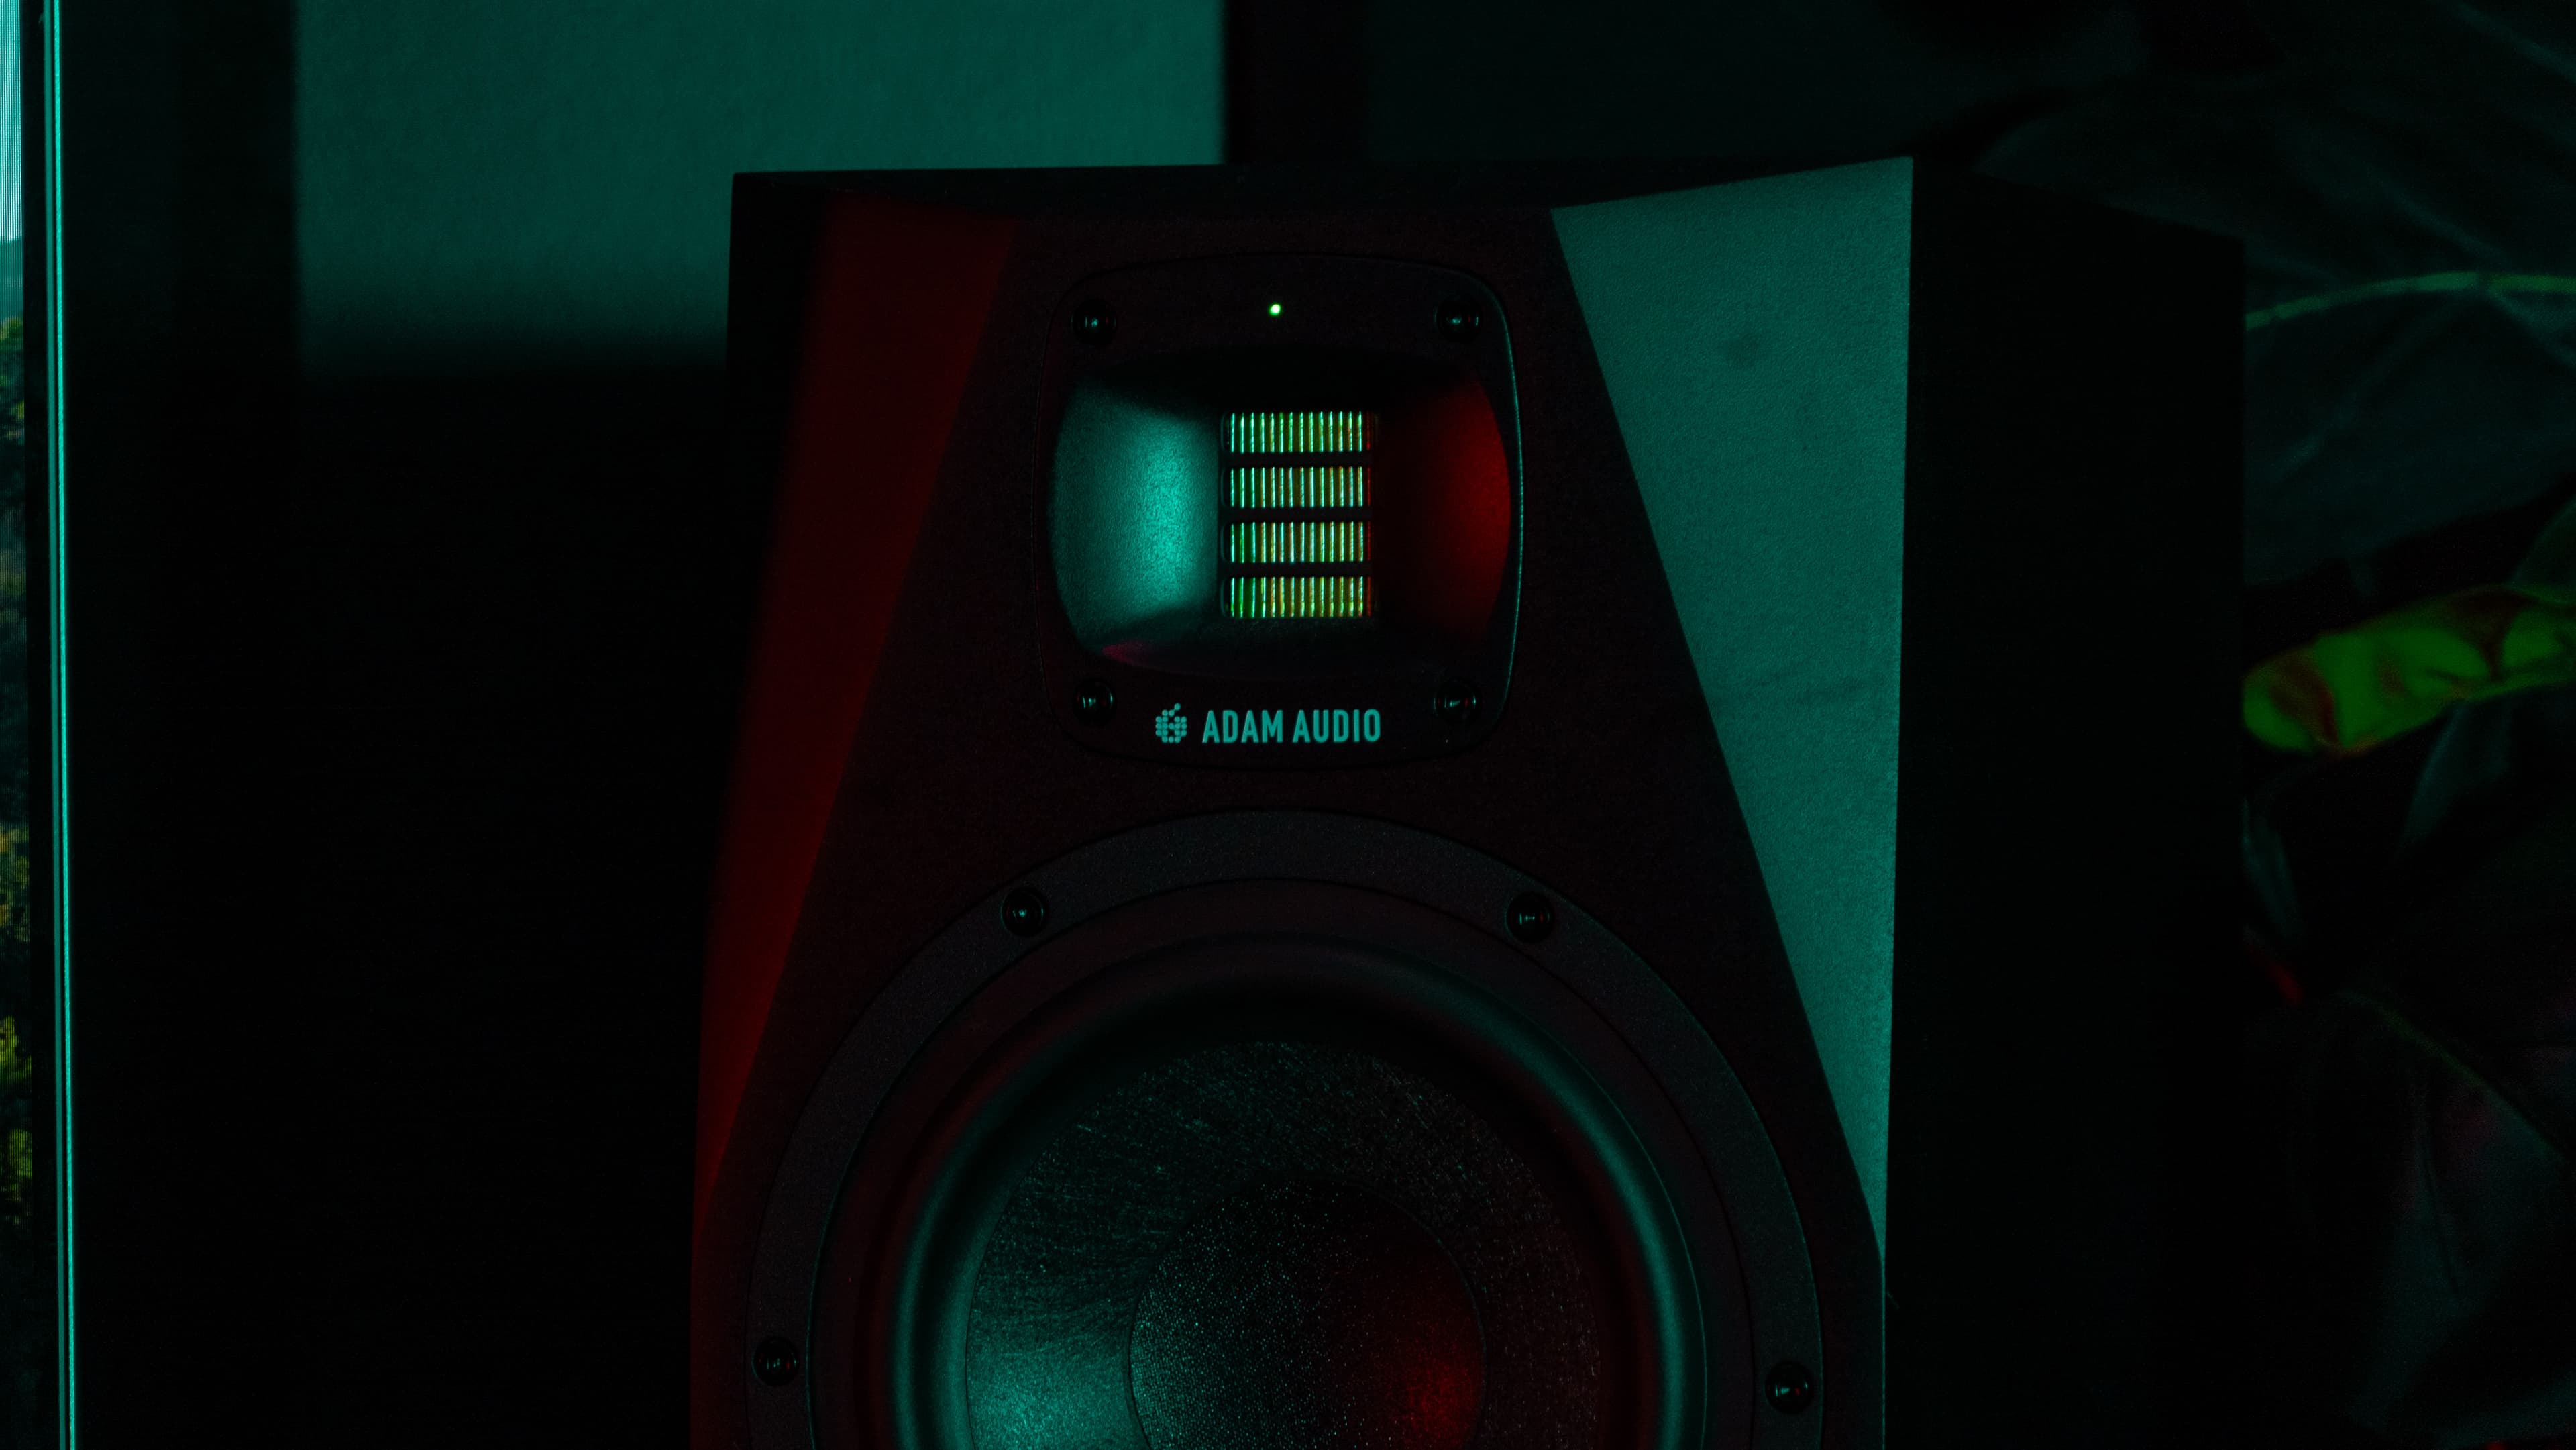
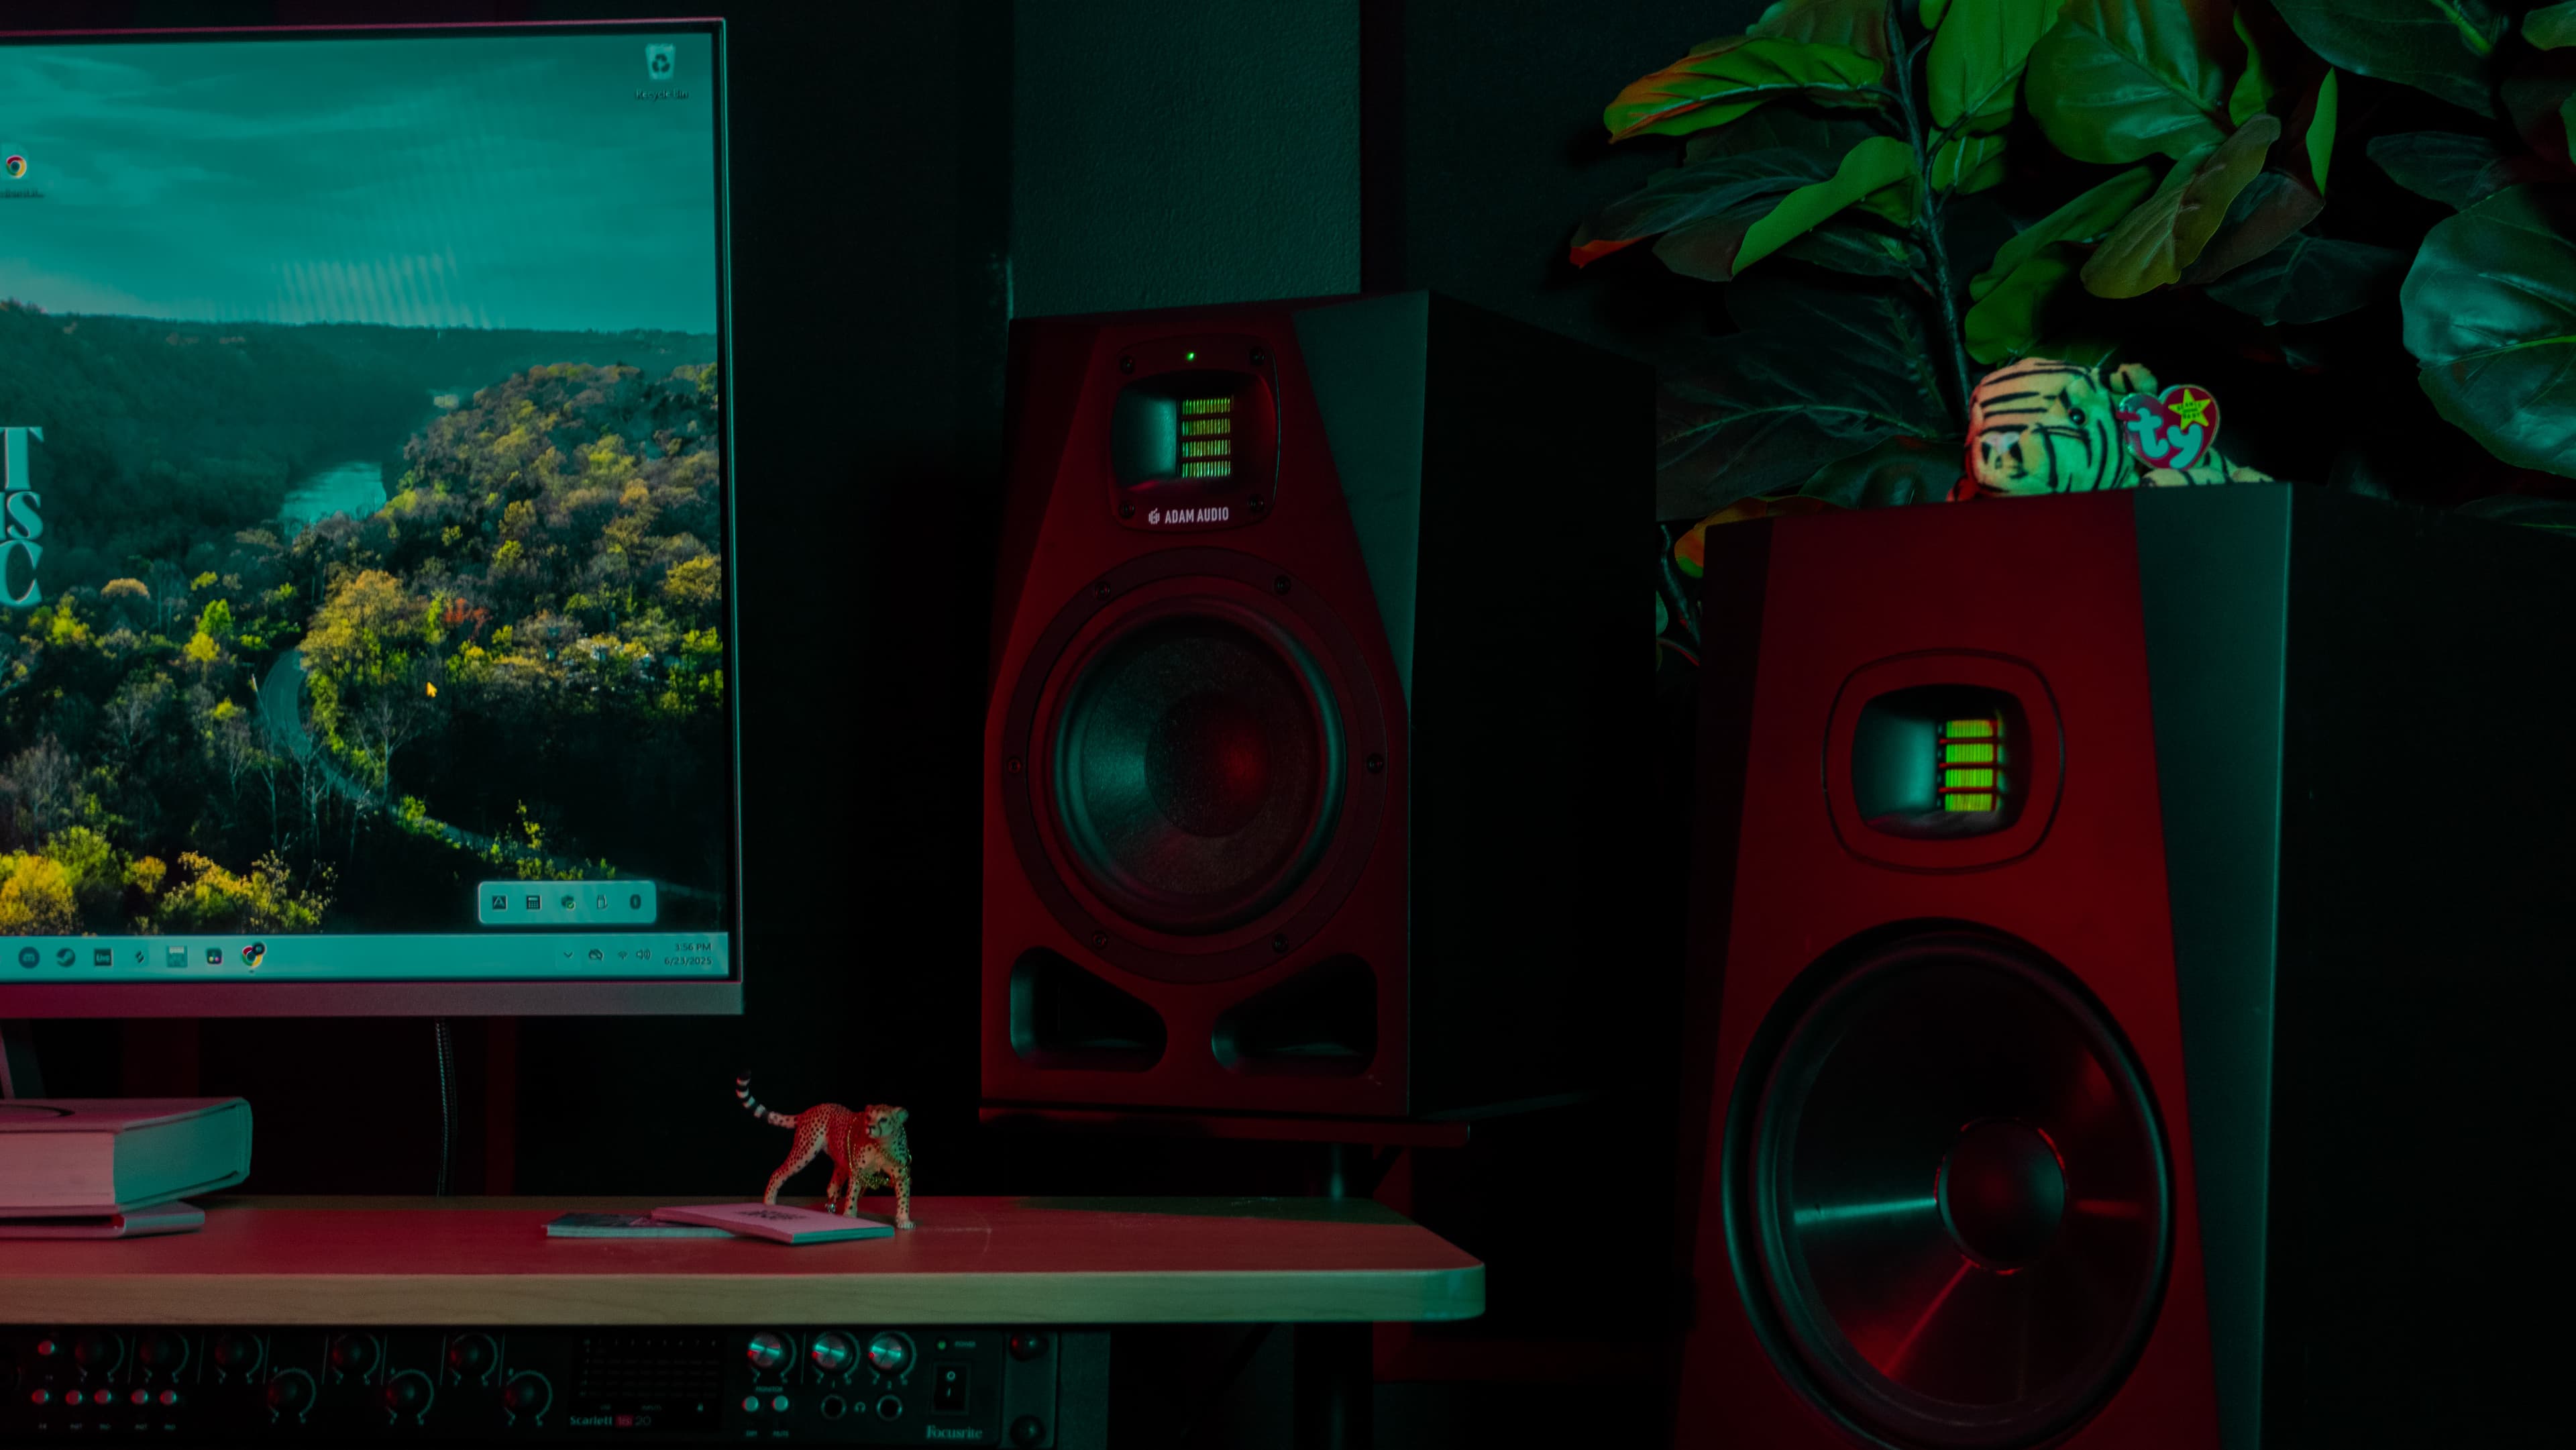
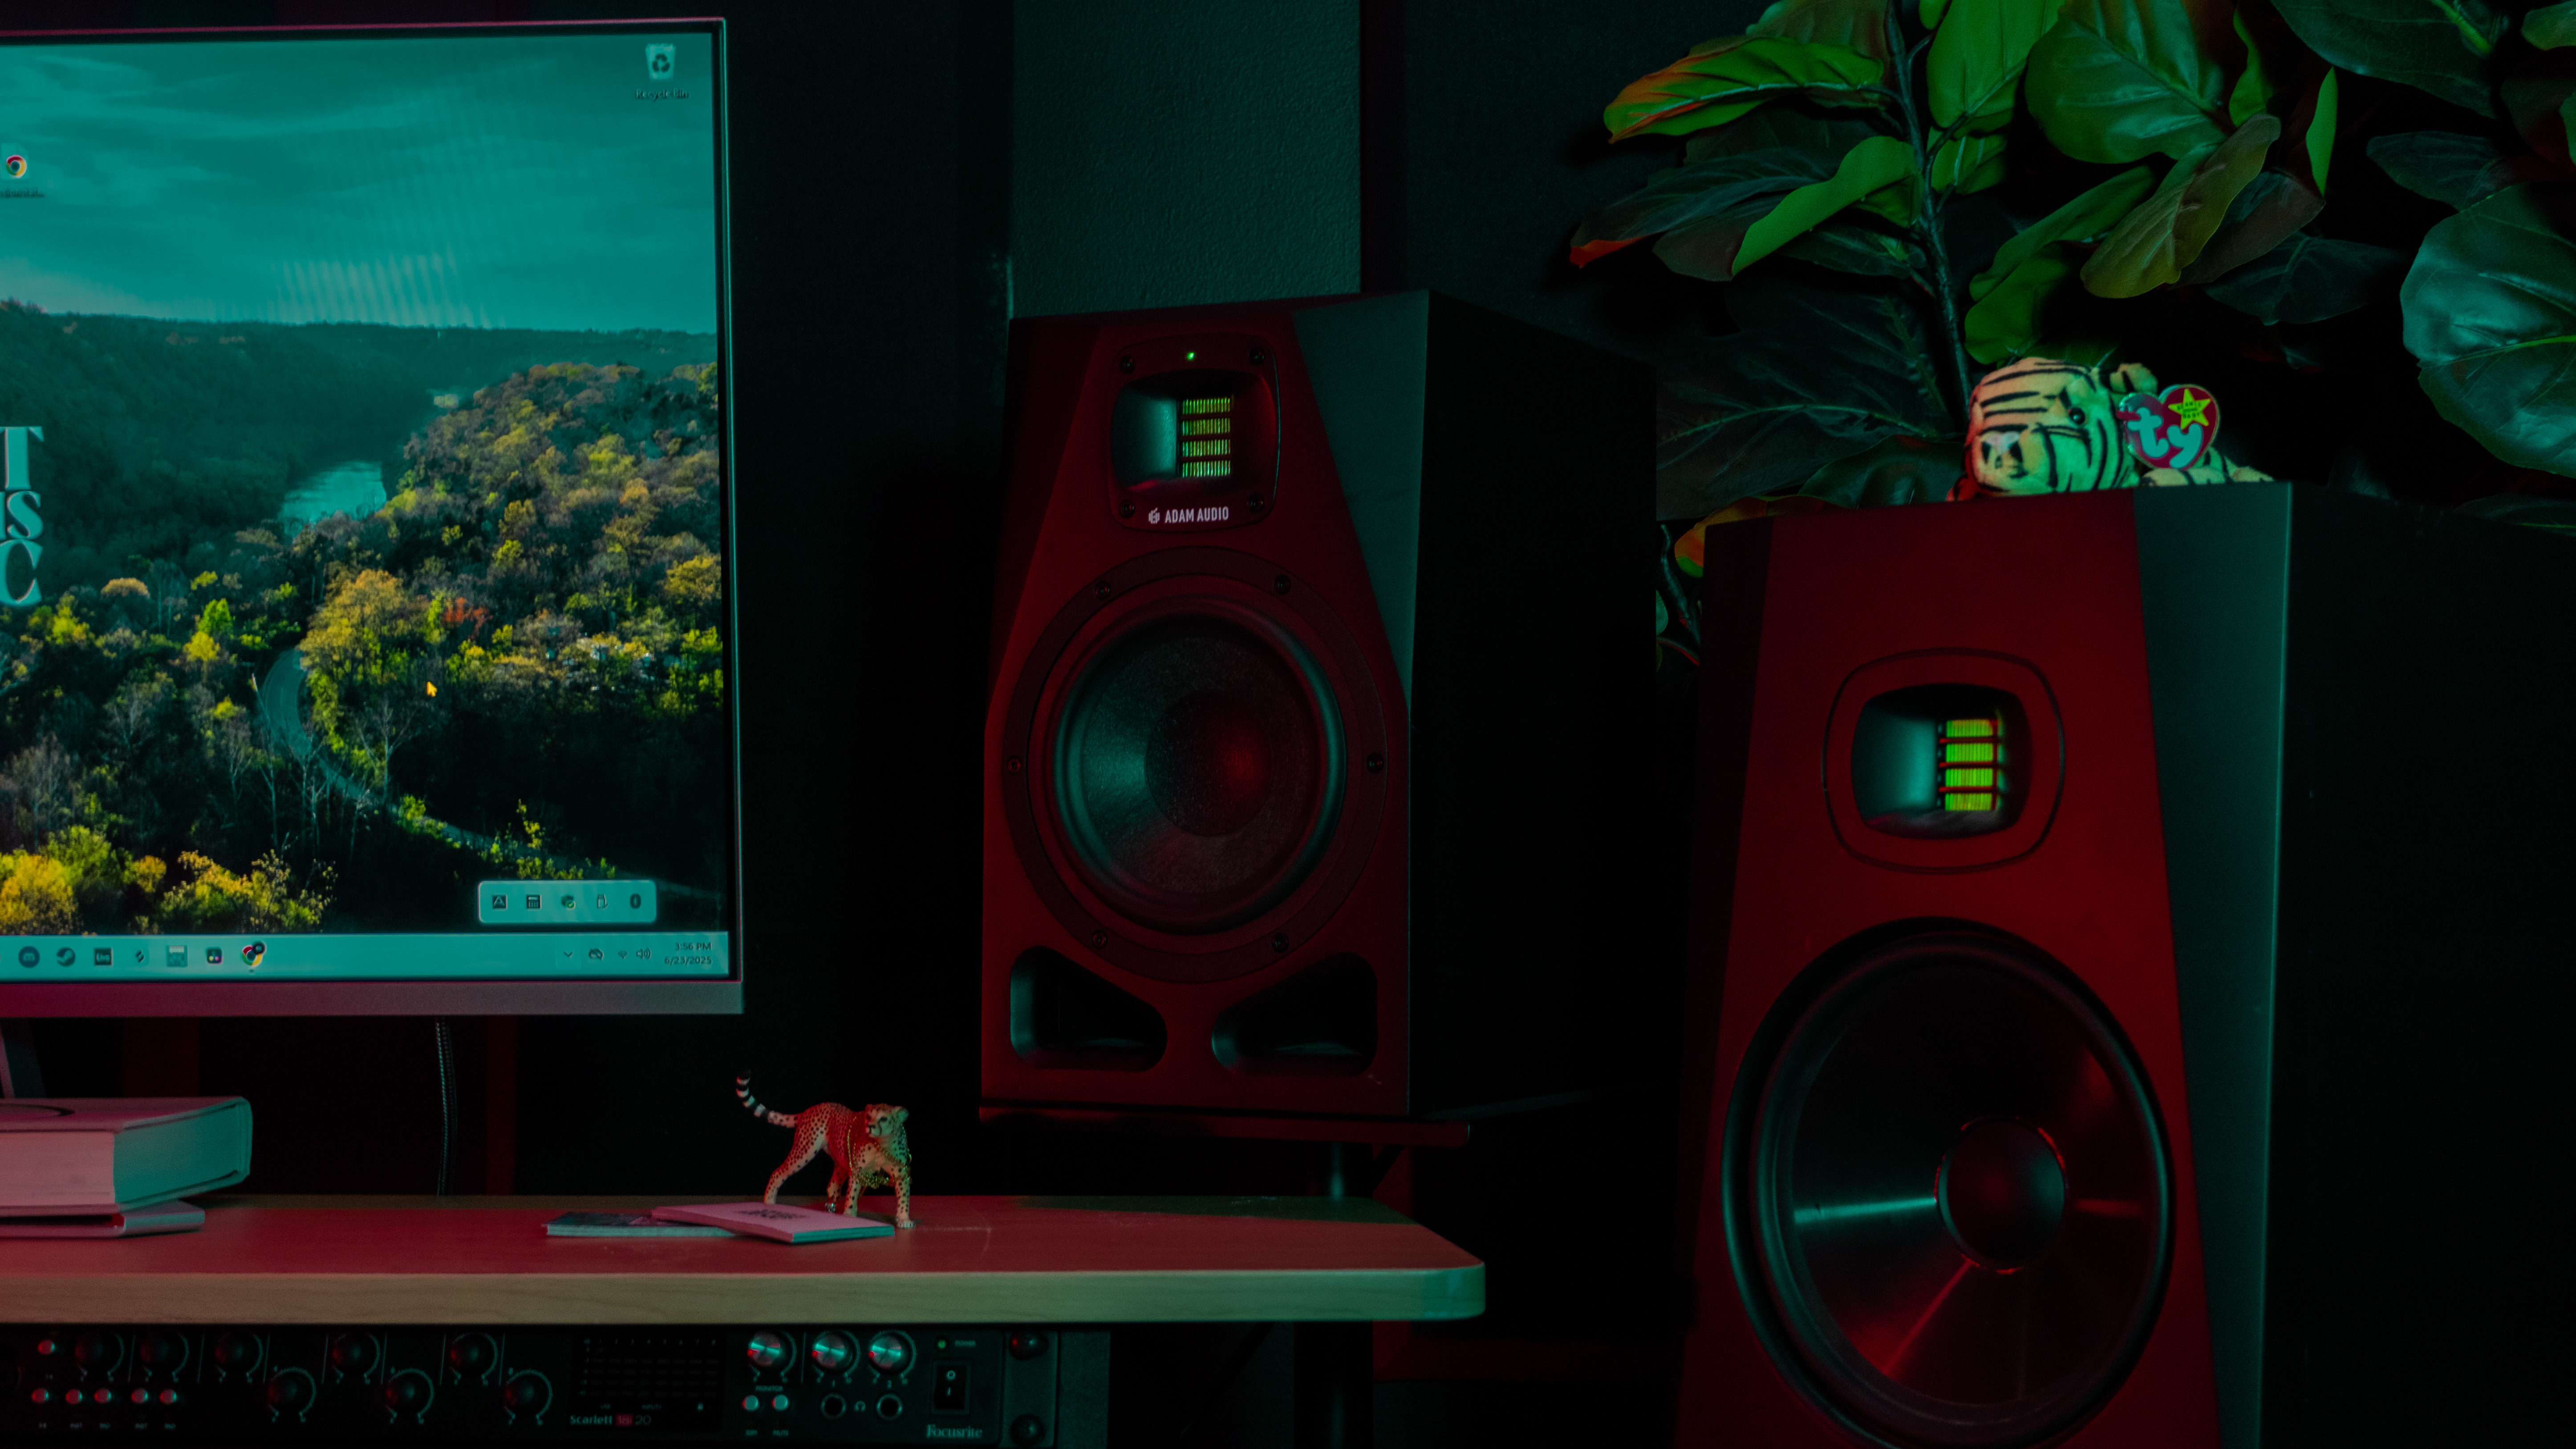
4. Studio Monitors
Monitors are speakers designed to give you a flat frequency response -- they don't hype the bass or sparkle the highs like consumer speakers. You need to hear what's actually there.
Budget pick: PreSonus Eris E3.5 (~$100/pair). Solid for a small room.
Mid-range pick: Yamaha HS5 (~$400/pair). The white-cone classics. Honest and revealing.
Pro pick: Adam Audio T5V (~$500/pair). Ribbon tweeters give incredible high-frequency detail.
Placement matters more than price. Monitors should form an equilateral triangle with your head, angled inward at about 30 degrees, with tweeters at ear level. If your monitors are shoved against a wall on a wobbly desk, even expensive ones will lie to you.
5. DAW (Digital Audio Workstation)
Your DAW is where you record, edit, mix, and produce. We'll compare the big three in our next post, but here are the options by budget:
| DAW | Price | Best For | Platform |
|---|---|---|---|
| GarageBand | Free | Beginners on Mac | Mac only |
| Reaper | $60 | Budget-conscious producers | Mac/PC |
| Logic Pro | $200 | Production, songwriting | Mac only |
| Ableton Live Intro | $99 | Electronic, beat-making | Mac/PC |
| Pro Tools Intro | Free | Learning industry standard | Mac/PC |
| FL Studio | $99+ | Beat production | Mac/PC |
Budget Tier Breakdown
Tier 1: The $500 Starter Studio
This gets you recording today with genuinely good sound:
| Item | Model | Cost |
|---|---|---|
| Interface | Focusrite Scarlett Solo | $120 |
| Microphone | Audio-Technica AT2020 | $100 |
| Headphones | Audio-Technica ATH-M20x | $50 |
| Pop filter | Generic nylon | $10 |
| Mic stand | Amazon Basics boom | $25 |
| XLR cable | 15ft, decent shielding | $15 |
| DAW | Reaper (or free options) | $60 |
| Acoustic treatment | Moving blankets + corner foam | $120 |
| Total | $500 |
This setup is no joke. The AT2020 through a Scarlett will give you clean, professional recordings if your room is treated even moderately.
Tier 2: The $1,000 Capable Studio
Now we're adding monitors and better treatment:
| Item | Model | Cost |
|---|---|---|
| Interface | Focusrite Scarlett 2i2 | $170 |
| Microphone | Rode NT1-A | $230 |
| Headphones | beyerdynamic DT 770 Pro | $160 |
| Monitors | PreSonus Eris E5 (pair) | $250 |
| Pop filter | Metal mesh | $15 |
| Mic stand | Heil PL-2T boom arm | $100 |
| XLR cable + speaker cables | Quality shielded | $40 |
| Acoustic treatment | Rockwool panels (DIY) | $150 |
| DAW | Reaper or Logic Pro | $60-200 |
| Total | ~$1,000 |
Tier 3: The $2,000 Dream Home Studio
This competes with many professional studios for tracking quality:
| Item | Model | Cost |
|---|---|---|
| Interface | Audient iD14 | $350 |
| Condenser mic | Aston Origin | $300 |
| Dynamic mic | Shure SM57 | $100 |
| Headphones (closed) | beyerdynamic DT 770 Pro | $160 |
| Headphones (open) | Sennheiser HD 600 | $400 |
| Monitors | Yamaha HS5 (pair) | $400 |
| Monitor stands | IsoAcoustics ISO-155 | $100 |
| Pop filter + reflection filter | Metal mesh + portable booth | $80 |
| Mic stand | K&M boom stand | $60 |
| Cables | Quality XLR + TRS | $50 |
| Acoustic treatment | Professional panels (8-pack) | $200 |
| DAW | Logic Pro or Ableton Standard | $200-350 |
| Total | ~$2,000 |
Acoustic Treatment: The Secret Weapon
Here's the uncomfortable truth: a $200 mic in a treated room will sound better than a $2,000 mic in an untreated room. Every. Single. Time.
Sound bounces off walls, floor, and ceiling. These reflections cause:
- Comb filtering -- frequencies cancel each other out, creating a hollow sound
- Flutter echo -- rapid-fire reflections between parallel walls
- Bass buildup -- low frequencies pile up in corners
DIY Treatment on a Budget
You don't need to buy expensive acoustic panels. Here's what actually works:
- 1Rockwool/mineral wool panels -- Build simple frames from 1x4 lumber, fill with 2" rigid mineral wool, wrap in breathable fabric. Total cost: ~$20 per panel. Place at first reflection points (the spots on your walls where sound bounces from your monitors to your ears).
- 2Bass traps in corners -- Stack thick panels or rolls of mineral wool in the corners of your room. Bass builds up in corners, and traps absorb it. This is the single biggest improvement you can make.
- 3Moving blankets -- Hang them behind your recording position. They're cheap ($15-30 each) and absorb mid/high frequencies effectively.
- 4Bookshelves -- A bookshelf full of irregularly sized books is a surprisingly effective diffuser. Put one behind your listening position.
What NOT to do: Don't cover every surface with egg cartons or thin foam. Egg cartons do almost nothing. Thin foam only absorbs high frequencies, making your room sound muddy and boomy -- the opposite of what you want.
Room Setup Essentials
- Don't sit in the exact center of the room -- that's where bass modes are worst
- Position your desk along the short wall -- facing the length of the room
- Symmetry matters -- your left and right speakers should see the same room
- Keep monitors away from walls -- at least 8-12 inches from rear walls
Cable Management
This sounds boring, but bad cable management causes real problems:
- Interference and noise -- Power cables running parallel to audio cables induce hum
- Trips and damage -- One stumble can pull an interface off your desk
- Workflow friction -- Untangling cables before every session kills creativity
Simple rules:
- 1Keep power cables and audio cables separated (cross at 90 degrees if they must cross)
- 2Use velcro ties, not zip ties (you'll need to reconfigure)
- 3Label both ends of every cable
- 4Run cables along walls or under desk cable trays
- 5Keep cables as short as practically possible -- longer cables pick up more interference
When to Use a Professional Studio Instead
A home studio is incredible for:
- Songwriting and demo production
- Vocal recording (with proper treatment)
- Podcast and voiceover work
- Beat-making and electronic production
- Mixing (with practice and good monitors)
But you should still book a professional studio for:
- Full band tracking (drums especially)
- Projects requiring high-end outboard gear
- Final mixing and mastering of commercial releases
- Recording with a dedicated engineer (fresh ears matter)
- Sessions where you want to focus purely on performance
Sweet Dreams Recommends
Sweet Dreams Recommends: Need professional recording quality for your next project? Our studio sessions give you access to top-tier gear and experienced engineers. Book a session and hear the difference.
Common Beginner Mistakes
- 1Spending everything on the mic -- Your room acoustics matter more than your microphone
- 2Skipping acoustic treatment -- See above. Seriously, treat your room
- 3Buying gear you don't need yet -- You don't need a tube preamp on day one
- 4Ignoring gain staging -- Recording too hot (loud) causes digital clipping. Aim for peaks around -12 to -6 dB
- 5Not backing up sessions -- Use cloud storage or an external drive. Losing a project is devastating
- 6Mixing on laptop speakers -- Always use headphones or monitors. Laptop speakers hide everything
- 7Chasing plugin sales -- Stock plugins in modern DAWs are excellent. Learn them before buying third-party
Getting Started Checklist
- [ ] Choose your budget tier
- [ ] Order your interface and mic first (these are the bottleneck)
- [ ] Set up your desk against the short wall of your room
- [ ] Install your DAW and update drivers
- [ ] Hang basic acoustic treatment at first reflection points
- [ ] Run a test recording -- speak or sing, listen back on headphones
- [ ] Identify the biggest problem (room echo? noise floor? levels?) and fix that first
- [ ] Record something real. Imperfect recordings teach you more than perfect silence
Sweet Dreams Recommends
Sweet Dreams Recommends: Already have your home studio set up and want to level up your productions? Browse our beat collection for professional instrumentals ready to record over.
What's Next
Now that your studio is set up, you need to choose your DAW. In our next post, DAW Showdown: Pro Tools vs Logic vs Ableton, we'll break down the big three and help you pick the right one for your goals.
This is Part 11 of our Music Production series. New posts publish weekly.
Tags