# Recording Vocals Like a Pro
Here's an uncomfortable truth that every mix engineer knows: you cannot mix your way out of a bad recording. You can polish, you can process, you can layer effects -- but if the raw vocal take is poorly recorded, the mix will always carry that limitation.
The good news? Recording great vocals isn't about expensive gear. It's about technique, preparation, and paying attention to details that most beginners overlook.
Before You Hit Record: Preparation
Vocal Warm-Ups
Your voice is a physical instrument. Just like a guitarist tunes up and a drummer stretches, vocalists need to warm up before recording. Cold vocals sound tight, strained, and lack range.
A basic 10-minute warm-up routine:
- 1Lip trills (2 minutes) -- Buzz your lips while humming up and down your range. This relaxes the vocal cords without strain.
- 2Sirens (2 minutes) -- Slide smoothly from your lowest note to your highest on an "ooh" or "ee" vowel.
- 3Scales (3 minutes) -- Sing major scales at a comfortable volume, focusing on consistent tone.
- 4The actual song (3 minutes) -- Sing through the song once at half energy. Don't belt. Just get the melody and lyrics flowing.
Hydrate. Drink room-temperature water (not cold, not hot) for at least an hour before recording. Avoid dairy, which thickens mucus. Coffee dehydrates. The ideal vocal cord condition is thin, flexible, and hydrated.
Know the Song Cold
Fumbling through lyrics wastes studio time and breaks the emotional flow. Before a recording session:
- Memorize the lyrics completely
- Know the melody and every harmony part
- Decide where you'll breathe
- Plan dynamic changes (where to whisper, where to belt)
- Record scratch takes at home to work out the phrasing
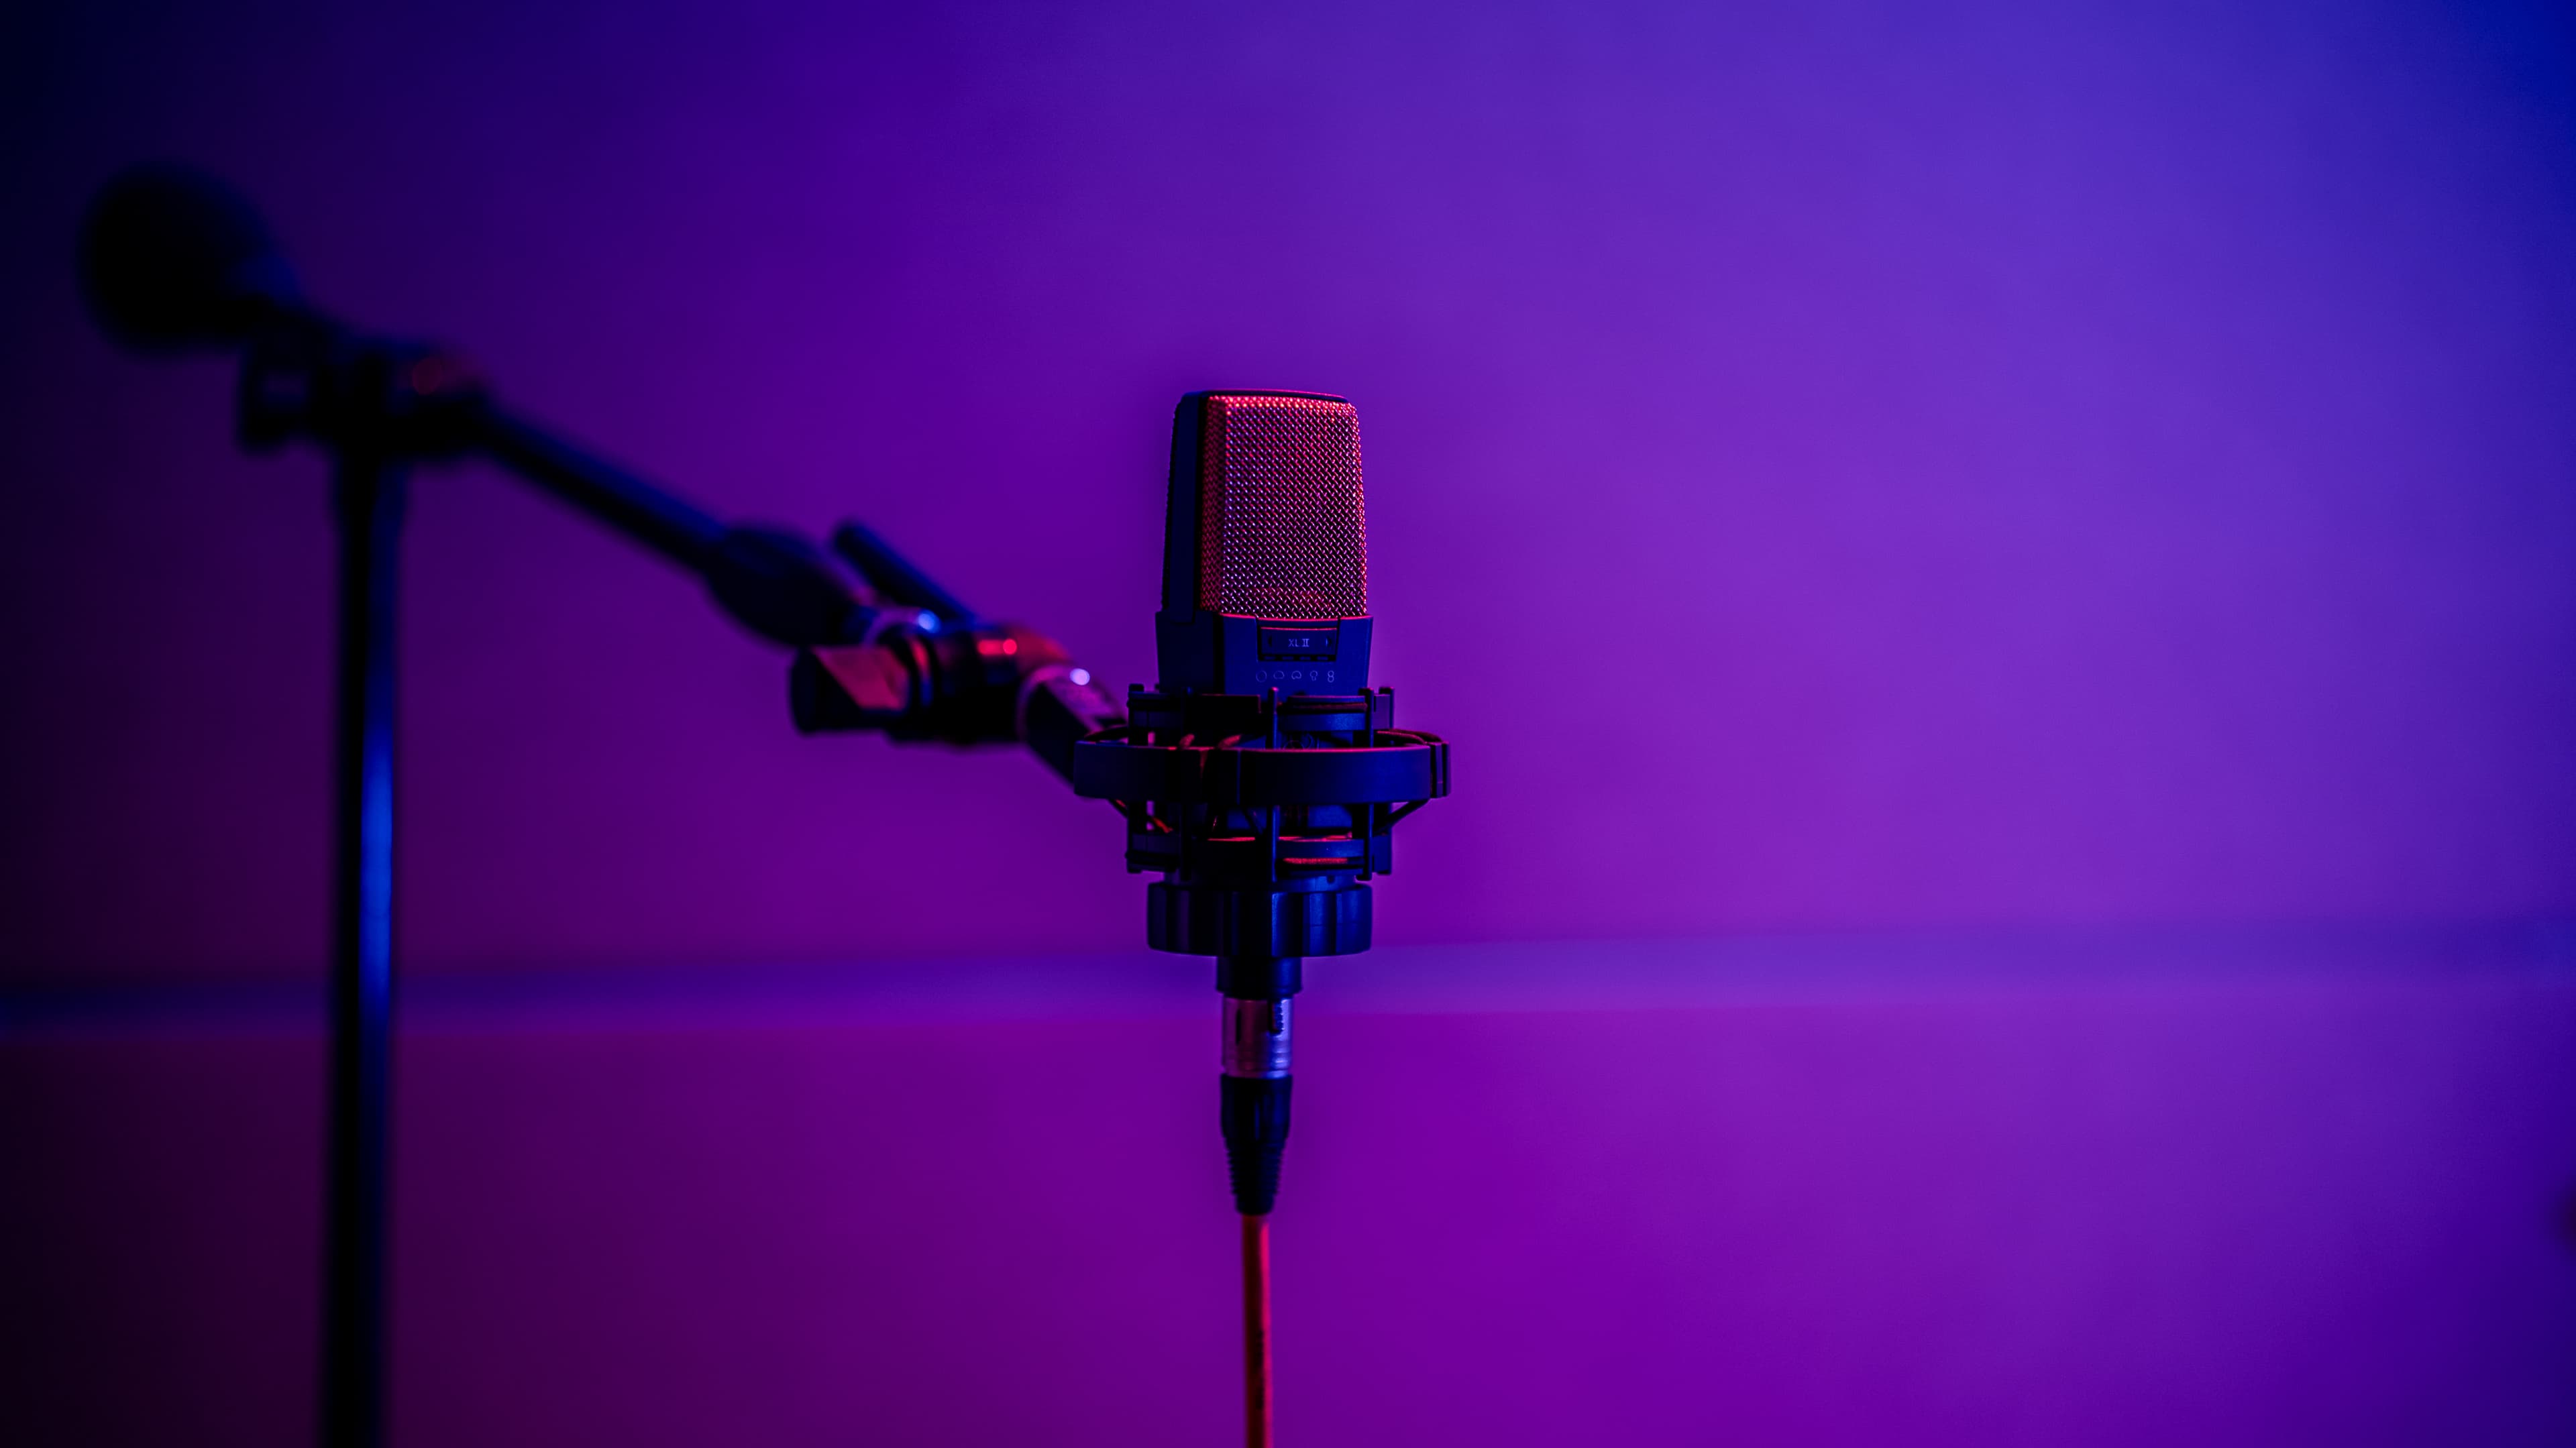
Mic Selection for Vocals
We covered microphone types in detail, but here's the vocal-specific summary:
| Mic Type | Best For | Room Requirement |
|---|---|---|
| Large-diaphragm condenser | Most vocals -- detail, clarity, air | Treated room required |
| Dynamic (SM7B, RE20) | Loud singers, untreated rooms, rapper energy | Works in any room |
| Ribbon | Warm, vintage character, smooth high-end | Treated room, needs gain |
The most important factor isn't the mic -- it's the match. A $100 dynamic mic might sound better on a particular voice than a $1,000 condenser. If you have access to multiple mics, do a shootout: record the same phrase on each mic and compare.
The SM7B Phenomenon
The Shure SM7B deserves special mention. It's a dynamic mic that's become the default for podcasting and modern vocal recording. Michael Jackson recorded vocals for Thriller on an SM7B. It sounds great in untreated rooms because its lower sensitivity rejects reflections.
The catch: it needs a lot of gain. If your interface's preamps are noisy at high gain, you'll hear hiss. A Cloudlifter or FetHead inline preamp ($100-150) solves this by adding 25 dB of clean gain.
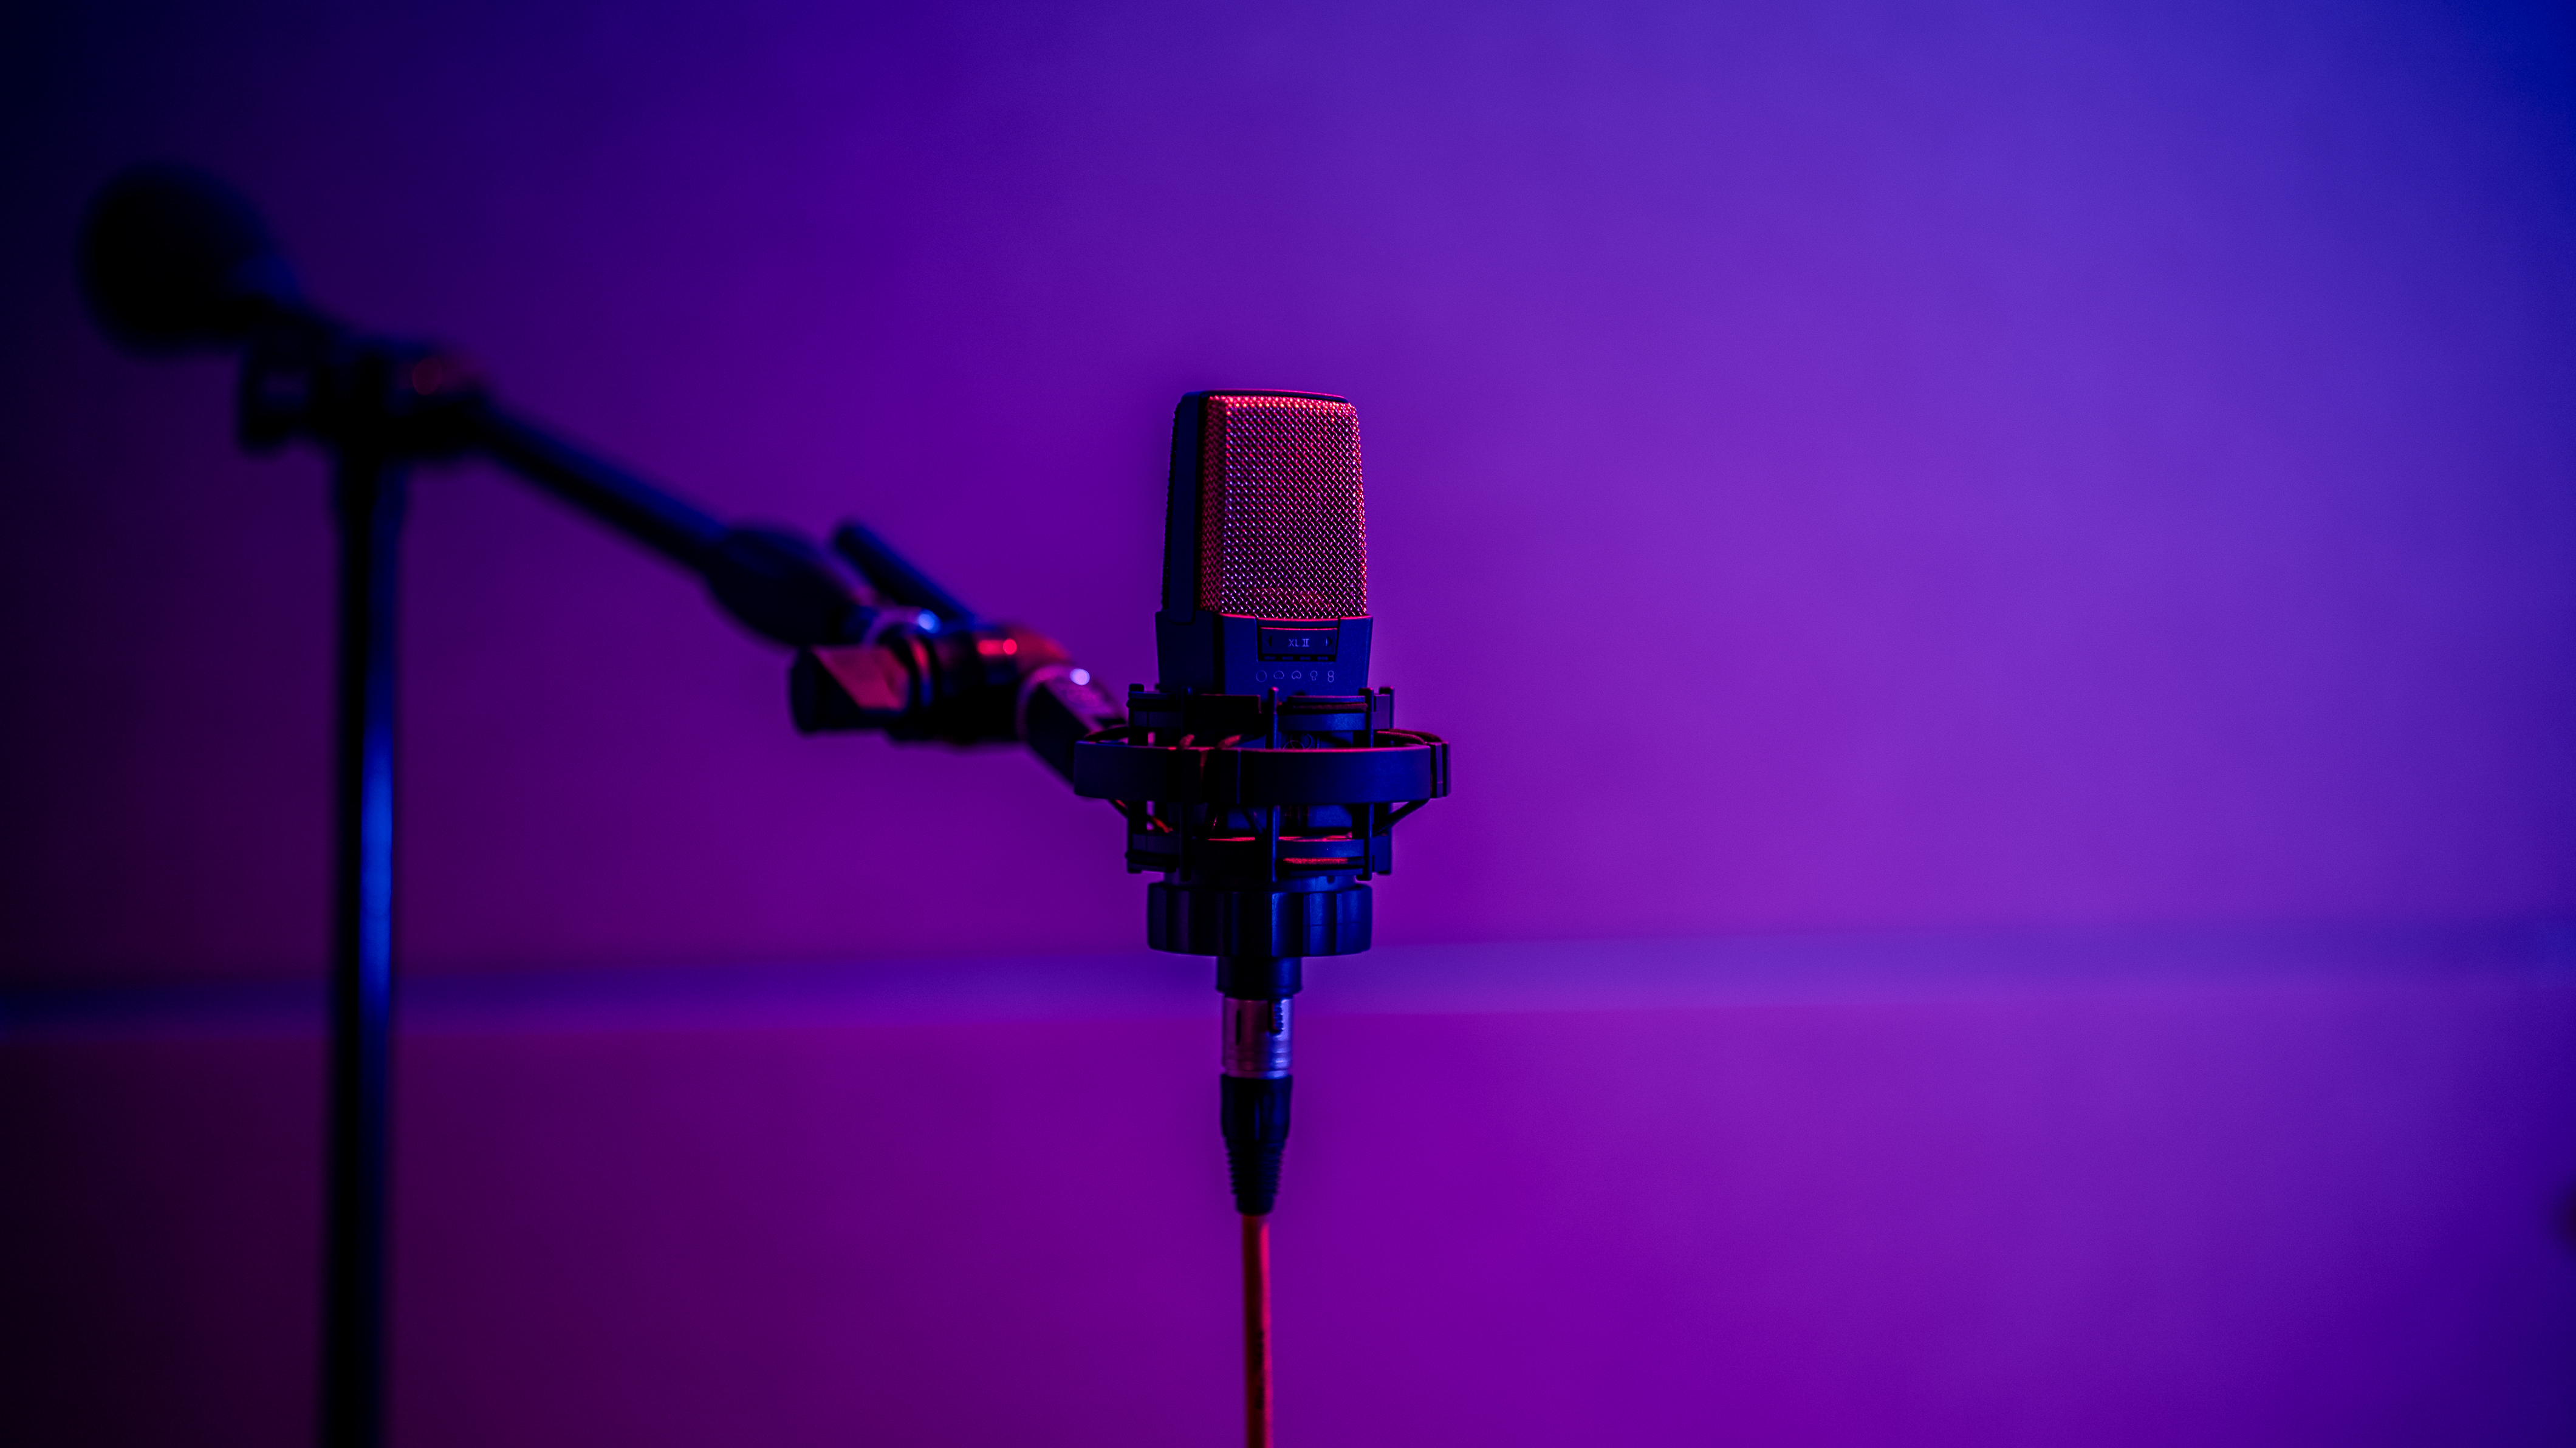
Mic Placement and Distance
Mic placement dramatically changes the sound:
| Distance | Sound Character | Best For |
|---|---|---|
| 2-4 inches | Intimate, bass-heavy (proximity effect), lots of detail | Whispered vocals, ASMR, intimate pop |
| 6-8 inches | Balanced, natural, standard studio distance | Most lead vocals |
| 10-12 inches | More room sound, thinner, open | Background vocals, group vocals |
| 12+ inches | Very roomy, distant | Effect, ambient texture |
The Standard Setup
For most vocal recording:
- 1Distance: 6-8 inches from the mic capsule
- 2Angle: Sing slightly off-axis (10-15 degrees to the side) to reduce plosives and sibilance
- 3Height: Mic at mouth level or slightly above (singing slightly up opens the throat)
- 4Pop filter: 2-3 inches in front of the mic
Pop Filters
Plosives ("P" and "B" sounds) create bursts of air that hit the mic diaphragm and produce a low-frequency thump. A pop filter blocks these air blasts.
| Type | Pros | Cons |
|---|---|---|
| Nylon mesh | Cheap ($10-15), effective | Can affect high frequencies very slightly |
| Metal mesh | Transparent sound, easy to clean | More expensive ($20-40) |
| Foam windscreen | Slides right on the mic | Less effective on strong plosives |
A $10 nylon pop filter is one of the best investments in your studio. Without one, you'll spend hours trying to fix plosive pops in editing.
Room Treatment for Vocals
Even if your room isn't fully treated, you can create a decent vocal recording environment:
- 1Record in the deadest corner of your room -- away from windows, hard walls
- 2Hang a moving blanket behind you (the singer) -- this absorbs reflections coming from behind
- 3Place absorption behind the mic -- a panel or blanket on the wall the mic is pointing at
- 4Reflection filters (like the sE Reflexion Filter or Aston Halo) -- these mount behind the mic and catch some early reflections. They're not a replacement for room treatment, but they help
What to avoid: Don't record in a closet full of clothes and think it's a "vocal booth." Closets are small, which causes strong low-frequency buildup (comb filtering). A treated corner of a medium-sized room is almost always better than a tiny closet.
Gain Staging
Gain staging is setting the right recording level. Get this wrong and you either clip (too loud) or record a noisy signal (too quiet).
The Target
Record with peaks hitting between -12 dB and -6 dB on your meter. This gives you plenty of headroom above for unexpected loud moments while keeping your signal well above the noise floor.
How to Set Gain
- 1Have the vocalist sing the loudest part of the song
- 2Adjust the input gain on your interface until the peaks hit around -12 to -8 dB
- 3Have them sing a quiet section to make sure it's still well above -40 dB
- 4Record a test take and listen back for any clipping or excessive noise
24-bit recording gives you massive dynamic range. Don't record hot "because we did in the analog days." Digital clipping (going above 0 dB) sounds terrible and is permanent. There's no benefit to recording close to 0 dB in digital.
| Level | Status |
|---|---|
| Above 0 dB | CLIPPING -- turn down immediately |
| -3 to 0 dB | Too hot -- not enough headroom |
| -6 to -3 dB | Acceptable for controlled sources |
| -12 to -6 dB | Ideal recording range |
| -20 to -12 dB | Fine for dynamic sources |
| Below -40 dB | Too quiet -- noise floor becomes an issue |
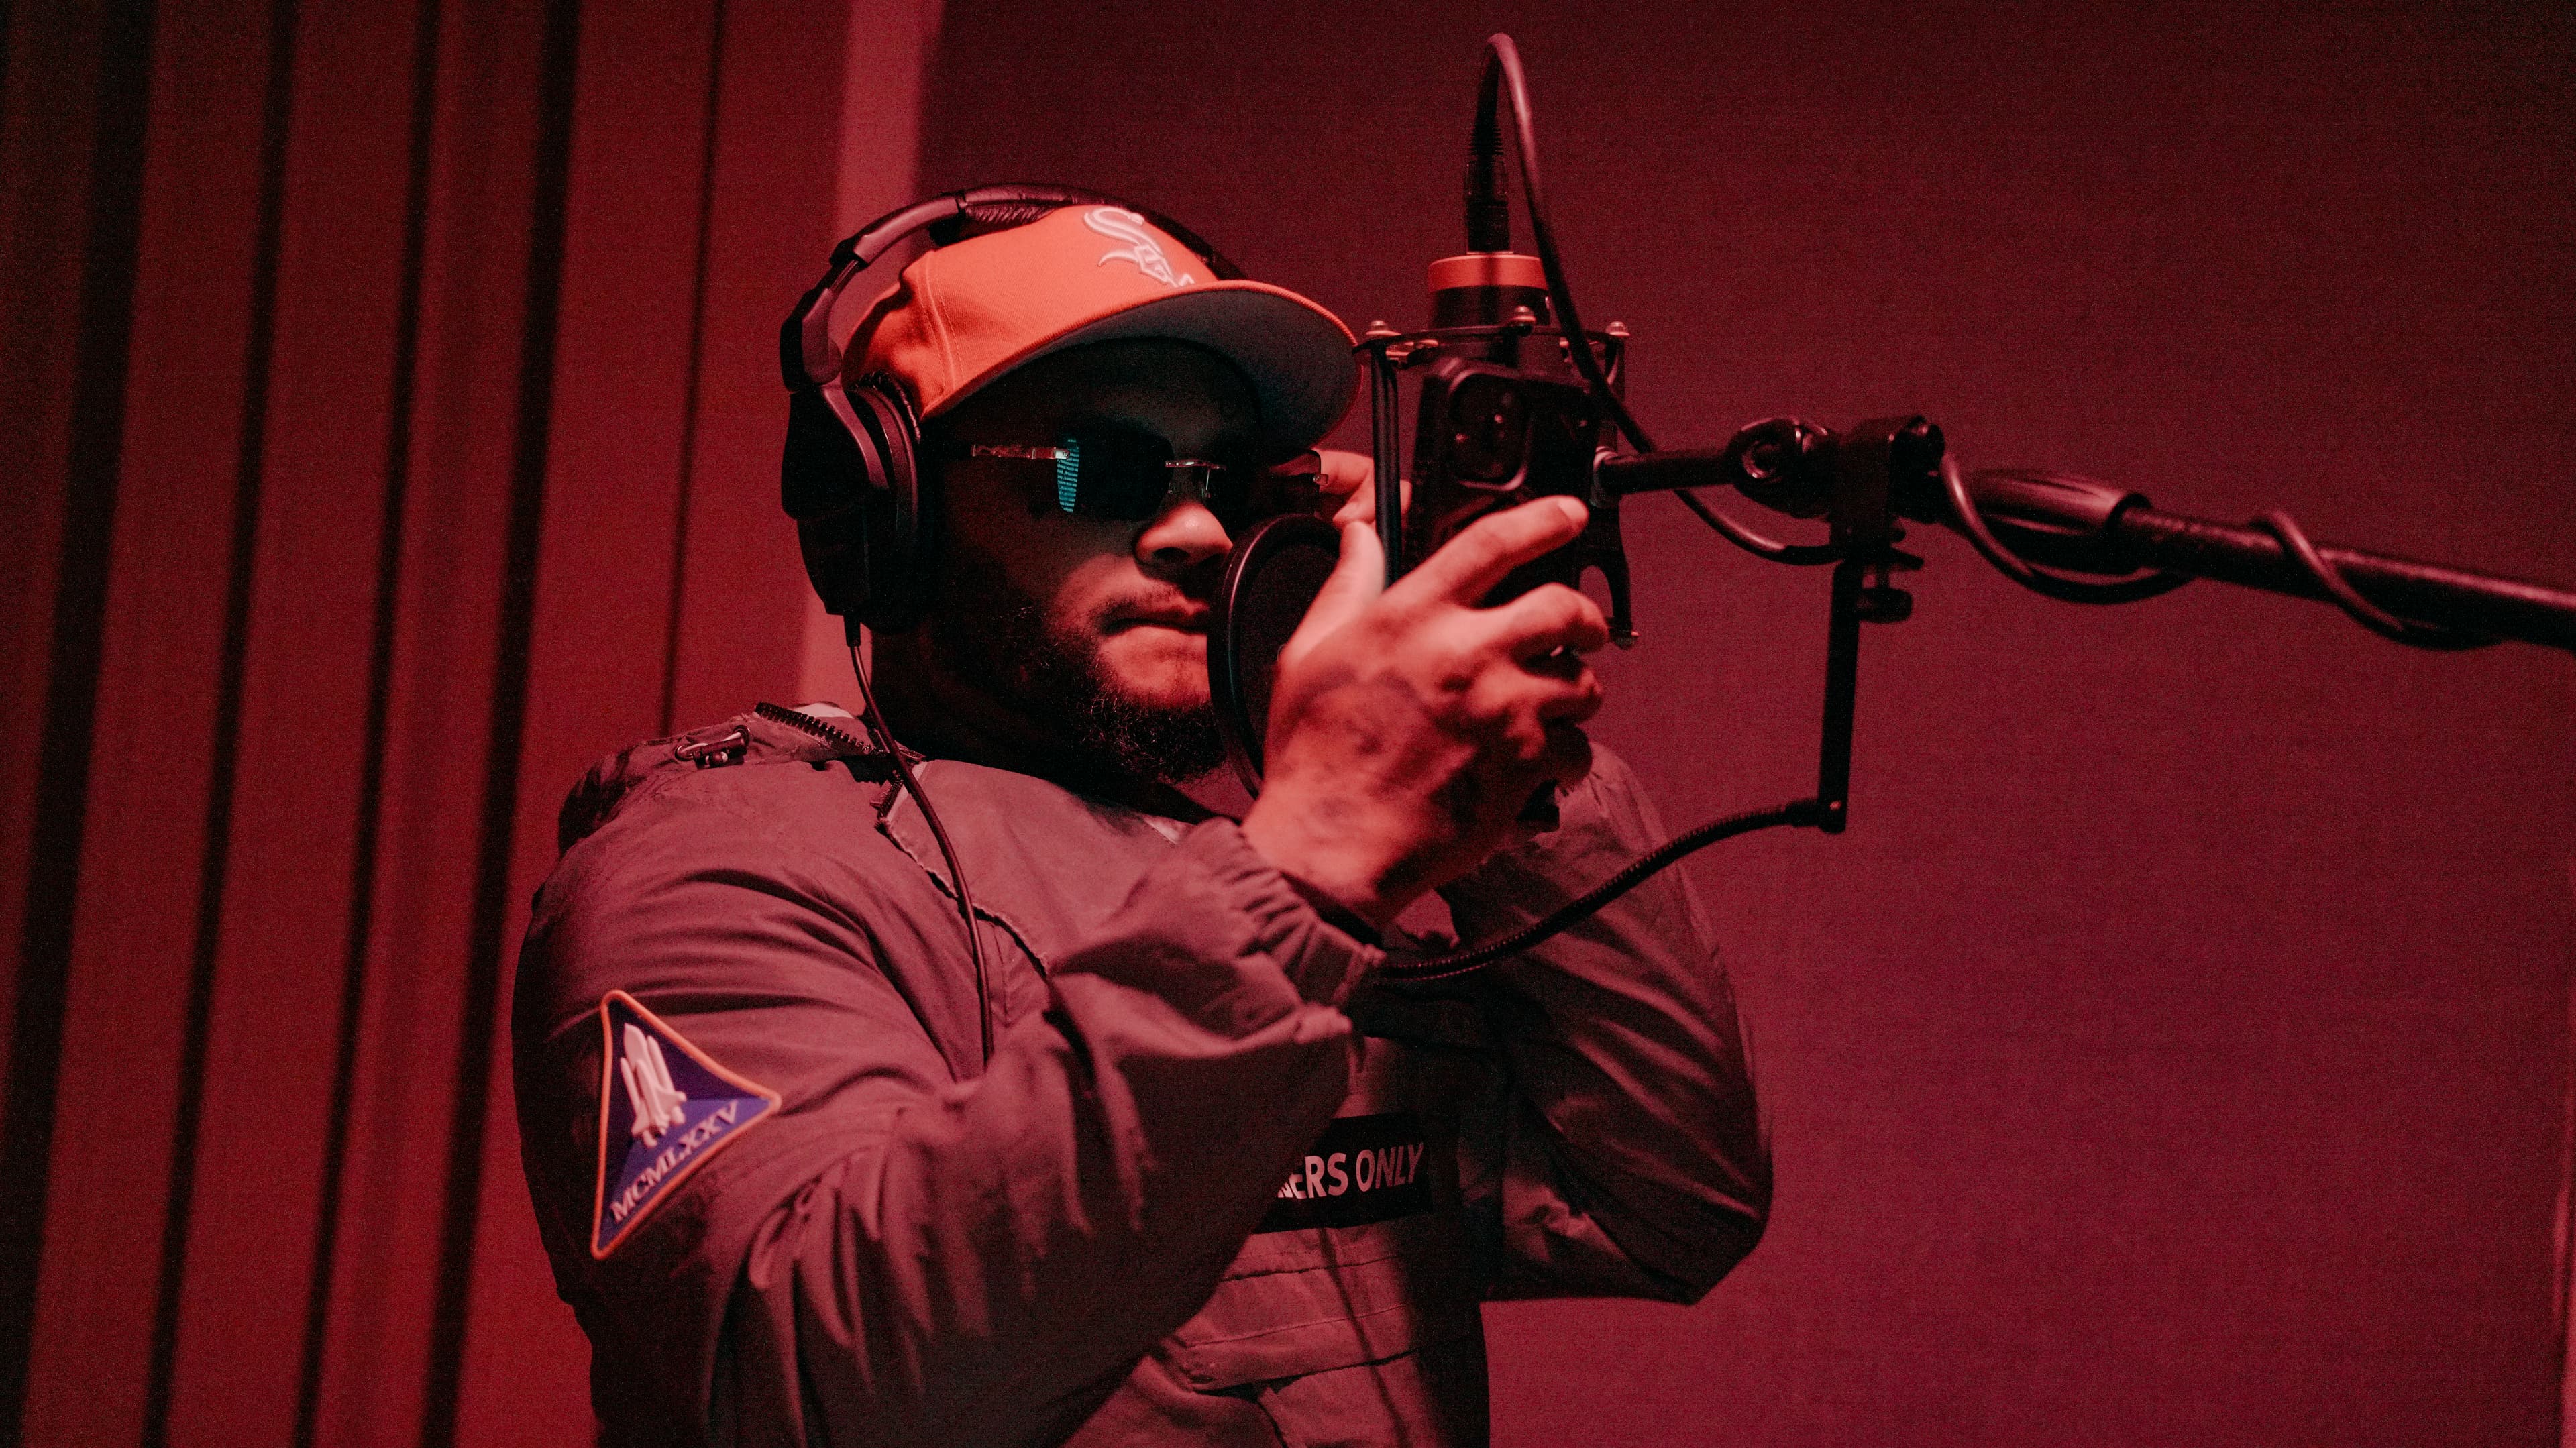
The Headphone Mix
The vocalist's headphone mix is one of the most overlooked aspects of recording. If the singer can't hear themselves properly, they'll strain, sing off-pitch, or lose confidence.
Building a Good Cue Mix
- 1Vocal loud enough -- The singer should hear themselves clearly over the instrumental
- 2Some reverb on the vocal -- A touch of reverb in the headphones makes singers more comfortable and perform better. Don't record the reverb -- just send it to the headphone mix
- 3Low overall volume -- If the headphone mix is too loud, the singer compensates by singing harder. Keep it at a comfortable speaking-voice level
- 4One ear on, one ear off -- Many experienced vocalists pull one ear of the headphones off to hear their natural voice. This helps with pitch and dynamics
Latency
Latency (the delay between singing and hearing yourself in the headphones) kills performances. Even 10-15 ms of delay feels weird.
Solutions:
- Use your interface's direct monitoring -- this routes the mic signal directly to the headphones with zero latency
- Reduce your DAW's buffer size (128 or 64 samples) during recording
- Don't use plugins on the input channel while tracking (they add latency)
Recording Multiple Takes
Professional vocal sessions almost never use a single take for the final product. Here's the standard workflow:
The Comping Method
- 1Record 3-5 full takes of each section (verse, chorus, bridge)
- 2Listen back and identify the best phrases from each take
- 3Comp (compile) the best moments into one "perfect" take
- 4Record punch-ins for any remaining weak spots
How to Record Multiple Takes
Most DAWs support playlist recording or take lanes:
- Pro Tools: Create a new playlist for each take (Ctrl+\ / Cmd+\)
- Logic: Use Take Folders -- each new pass records to a new lane
- Ableton: Record in arrangement view and manually comp
Punch-In Recording
When you need to fix just a phrase or word:
- 1Set an in-point slightly before the problem area
- 2Set an out-point slightly after
- 3Play from before the in-point so the singer hears the context
- 4Record over just that section
- 5Crossfade the edges to make it seamless
Give the vocalist a running start. Don't punch in on the exact word that needs fixing. Start a bar or two early so they can match the energy and timing of the surrounding performance.
Sweet Dreams Recommends
Sweet Dreams Recommends: Ready to record vocals that stand up to commercial releases? Book a studio session with professional engineers, top-tier microphones, and a treated room that makes every voice shine.
During the Session: Pro Tips
- 1Record everything. Hit record before the vocalist starts warming up. Some of the best moments happen when the singer doesn't know they're being recorded.
- 2Don't over-direct. Give notes between takes, not during. Let the singer get through a full take without interruption.
- 3Energy management. Front-load the session with the most demanding sections (choruses, big notes) while the voice is fresh. Save quiet verses and ad-libs for later.
- 4Take breaks. Vocal cords fatigue. A 5-minute break every 30-45 minutes keeps the voice fresh.
- 5Keep notes. Mark which takes were strong, which had pitch issues, which had the best emotion. Your future self will thank you during comping.
- 6Save frequently. Set your DAW to auto-save every 5 minutes. One crash can erase an incredible session.
After Recording: Quick Checks
Before the vocalist leaves (or before you close the session if you're recording yourself):
- [ ] Play back the best takes -- are there any gaps or weak spots?
- [ ] Check for clipping on any take
- [ ] Record a few extra ad-libs, harmonies, or doubles while the voice is warmed up
- [ ] Verify all files saved correctly
- [ ] Note the mic, preamp settings, and distance for future reference
Sweet Dreams Recommends
Sweet Dreams Recommends: Got your vocal recording workflow dialed in? Find the perfect instrumental to record over in our beat store -- professionally produced beats ready for your voice.
What's Next
You've got great vocals recorded. Now it's time to combine everything into a cohesive mix. In our next post, The Art of Mixing: Balance, Space & Dimension, we'll cover the three dimensions of a mix and teach you how to make every element sit in its own space.
This is Part 16 of our Music Production series. New posts publish weekly.
Tags